Galvin Engineering CliniMix WM-PMSKIT Installazione del prodotto Manualline - Pagina 4
Sfoglia online o scarica il pdf Installazione del prodotto Manualline per Prodotto idraulico Galvin Engineering CliniMix WM-PMSKIT. Galvin Engineering CliniMix WM-PMSKIT 6. Inwall shower disinfection kit
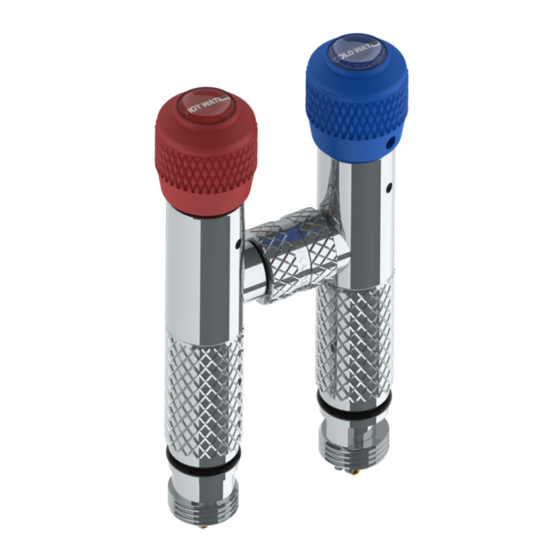
7. Fit disinfection unit
Ensure both handles on the disinfection unit are
fully turned anti-clockwise and the centre nut is
tight.
Fit the disinfection unit by screwing the hot and
cold extensions in even increments into the
shower body as shown.
Do not screw in one side fully at a time as this
will damage the disinfection unit.
Evenly tighten the knurled pieces until the
extensions are fully locked in place.
The unit will not seal if not fully tightened.
This will put the user at risk of exposure to
scalding water.
9. Disinfection
Although the drainage hose will facilitate the safe drainage of the hot water, it is recommended that you
do not stand under the shower during the disinfection process.
Upon activating the hot handle, hot water will pass from the hot inlet to the cold inlet and into the thermostatic
mixing chamber then out the shower outlet (exiting through the drainage hose).
Run water for the correct disinfection time as shown in table.
Note: The temperature of the exiting water should be checked regulary to ensure the correct timing
and the desired level of disinfection takes place.
8. Activate hot handle
Turn hot handle clockwise (until handle stops) to allow
water to flow from the hot side of the shower through
the cold side.
Do not over tighten as this will damage the
disinfection unit.
Disinfection Temperature vs. Time:
Temperature
Disinfection Time
30 Minutes
60
°C
65
°C
15 Minutes
°C
10 Minutes
70
Version 1, 22 October 2019, Page 4 of 6