Dynojet Power Commander III Istruzioni per l'installazione - Pagina 2
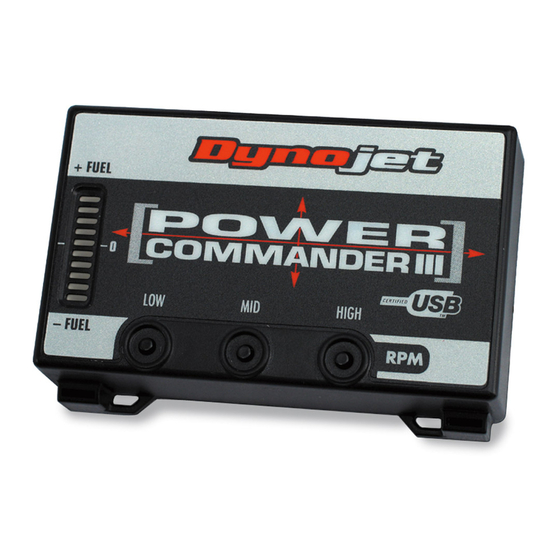
Sfoglia online o scarica il pdf Istruzioni per l'installazione per Accessori per moto Dynojet Power Commander III. Dynojet Power Commander III 4. Fuel adjustment
Anche per Dynojet Power Commander III: Istruzioni per l'installazione (4 pagine), Istruzioni per l'installazione (3 pagine), Istruzioni per l'installazione (4 pagine), Istruzioni per l'installazione (5 pagine), Istruzioni per l'installazione (5 pagine), Istruzioni per l'installazione (3 pagine), Istruzioni per l'installazione (3 pagine), Istruzioni per l'installazione (4 pagine), Istruzioni per l'installazione (3 pagine), Istruzioni per l'installazione (3 pagine), Istruzioni per l'installazione (5 pagine), Istruzioni per l'installazione (3 pagine), Istruzioni per l'installazione (3 pagine), Istruzioni per l'installazione (3 pagine), Istruzioni per l'installazione (3 pagine), Istruzioni per l'installazione (3 pagine), Istruzioni per l'installazione (3 pagine), Istruzioni per l'installazione (3 pagine), Istruzioni per l'installazione (5 pagine), Istruzioni per l'installazione (4 pagine)