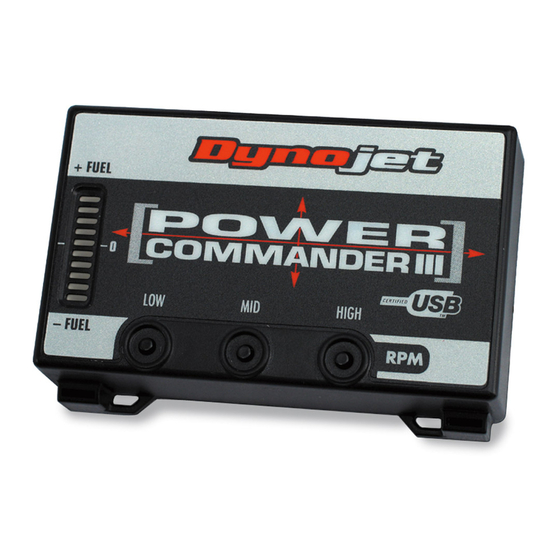
Dynojet Power Commander III Інструкція з монтажу - Сторінка 2
Переглянути онлайн або завантажити pdf Інструкція з монтажу для Аксесуари для мотоциклів Dynojet Power Commander III. Dynojet Power Commander III 4 сторінки. Fuel adjustment
Також для Dynojet Power Commander III: Інструкція з монтажу (4 сторінок), Інструкція з монтажу (3 сторінок), Інструкція з монтажу (4 сторінок), Інструкція з монтажу (5 сторінок), Інструкція з монтажу (5 сторінок), Інструкція з монтажу (3 сторінок), Інструкція з монтажу (3 сторінок), Інструкція з монтажу (4 сторінок), Інструкція з монтажу (3 сторінок), Інструкція з монтажу (3 сторінок), Інструкція з монтажу (5 сторінок), Інструкція з монтажу (3 сторінок), Інструкція з монтажу (3 сторінок), Інструкція з монтажу (3 сторінок), Інструкція з монтажу (3 сторінок), Інструкція з монтажу (3 сторінок), Інструкція з монтажу (3 сторінок), Інструкція з монтажу (3 сторінок), Інструкція з монтажу (5 сторінок), Інструкція з монтажу (4 сторінок)

