Airflow ACES48ALR Istruzioni per l'installazione - Pagina 2
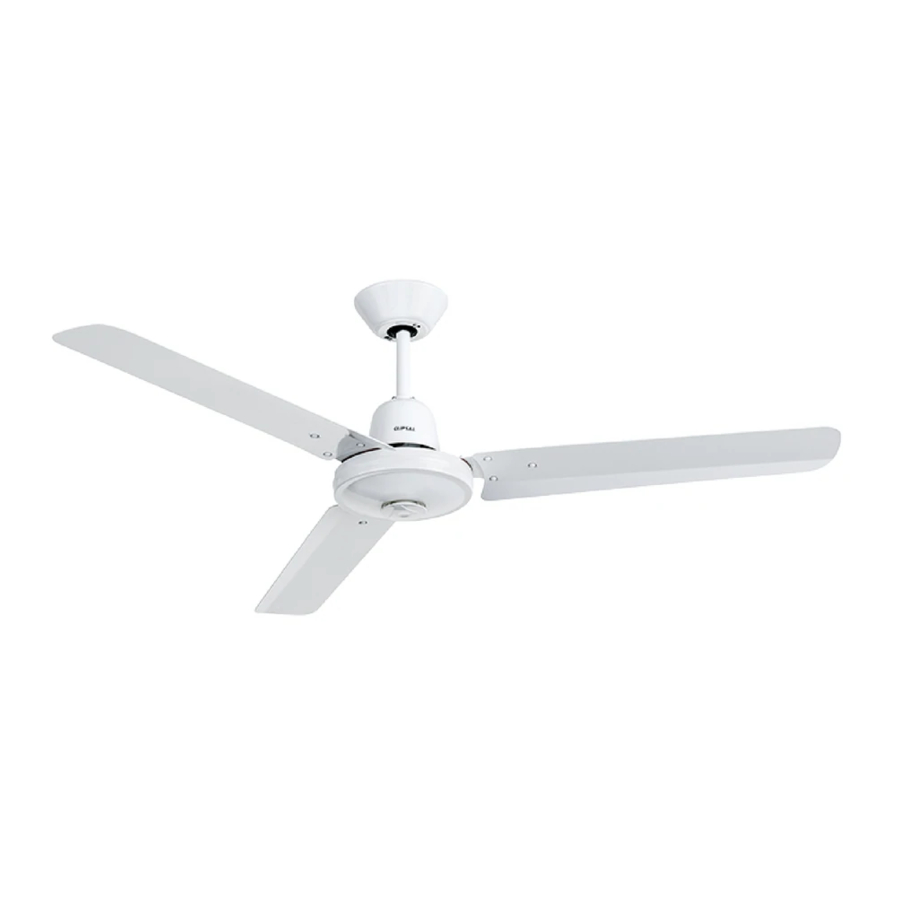
Sfoglia online o scarica il pdf Istruzioni per l'installazione per Ventilatore Airflow ACES48ALR. Airflow ACES48ALR 4. Ceiling sweep fan

ACES48ALR
2.0 Fitting the Blades
Discard the plastic spacer as illustrated in the diagram below.
Seat the key-slot holes of the blade on the screws of the fan
motor.
Slide the blade to the right as illustrated, until the blade engages
in the locking mechanism and secure the blade with screws.
A
Foam
Packaging
Support the motor
C
Slide blade over screws
3.0 Connecting the Light Fitting
If you are attaching a light fi tting to the fan, do so prior to hanging
the fan.
NOTE:
Clipper Light (CL) and Oyster Light (OL) may be installed in fans
which are constructed for this purpose.
1. Unscrew the plastic nipple from the bottom of the
motor housing
2. Pull out the light wires from the motor housing for connection
with the lamp holder
3. Insert the light wires through the adaptor, then screw the
adaptor into the motor shaft
4. Connect the light wires to the lamp holder then screw the
lamp holder and the adaptor together fi rmly.
Light Wires
2 of 4
B
Remove plastic spacer
D
Tighten screws
Light Wires
Plastic Nipple
Adaptor
Lamp Holder
4.0 Hanging the Fan
Hangsure Bracket
Position the ball-joint in the bracket so that the guide pin on the
bracket engages in the slot in the ball-joint.
Guide Pin
5.0 Installing the Fan
Ceiling Sweep Fan Installation Instructions
Slot
Lift the fan up and place the
nylon ball onto the bracket.
Make sure the guide pin of
bracket is fi tted into slot of
ball-joint.
1. Install the receiver to the
bracket as shown. Connect
the wires according to the
remote control wiring
instructions (page 3)
2. Loosen the screw in the
sensor bracket, insert the
infrared sensor into the hole
on the canopy. Ensure the
infrared sensor is held by
the metal plate as shown
and tighten the screw
3. Manoeuvre the canopy
into place over the mounting
bracket. Ensure that the
infrared sensor is in the
shade and not in direct
sunlight. Slide up top
cowl but allow 5-10mm
clearance. Secure with
locking screws.
© Clipsal Australia Pty Ltd
