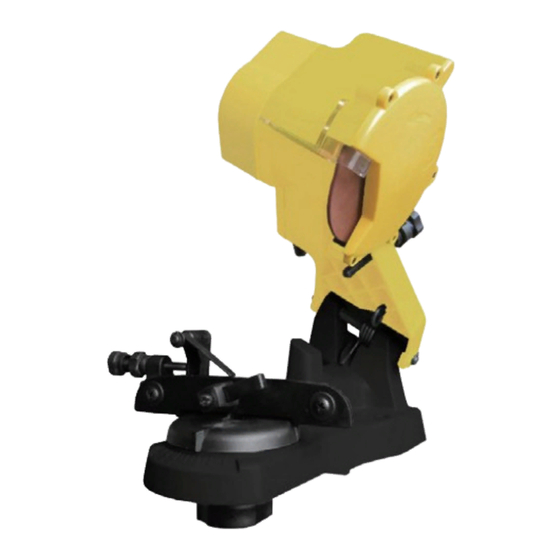
Gardebruk MZ-KS110 Manuale - Pagina 10
Sfoglia online o scarica il pdf Manuale per Utensile elettrico Gardebruk MZ-KS110. Gardebruk MZ-KS110 20.

18
II. Technical Data :
Motor
Power
No load speed
Wheel capacity
Weight
Protection class
Note:
and may be used for comparing one tool with another;
Warning:
depending on the ways in which the tool is used;
Intended Use
This machine is only used for regrinding or resharpening of the cutting plate of normal saw chains. Designed
for use on handheld chainsaws are meant for. The regrinding may only be carried out by means of dry
grinding. The required tooth roof sharpening angle, the corresponding tooth roof cutting angle as well as the
required depth limiter distance have to be determined as a function of the the type of saw chain or manufac-
turer. These data can be obtained either from your technical documentation of the chainsaw or from your
specialist dealer.
Only original or approved spare parts may be used. If other spare parts or non-approved components are
used on the machine, the user, not the manufacturer, is liable for personal injury. If the machine is used in
accordance with its intended purpose, this user manual must also be read before each use and adhered to
when using the machine.
www.DeubaXXL.de
230V~, 50Hz
90W (3 s unter Belastung, 8 s ohne Belastung)
5000 min-1
Φ 105mm / Φ 104mm
80,4 dB(A)
93,4 dB(A)
3,574 m/s2
2,3 kg
II
www.Deuba24online.de
Non-approved use
1 The tool can only be used to sharpen the saw
chain. Never use other material for other urposes
such as grinding and cutting.
2. Clamp the chain before sharpening. For recise
sharpening, avoid the to clamp and break off the
grinding wheel.
3. Operate evenly during sharpening; sudden
operation may cause clamping of the grinding
wheel or other accidents.
Residual risks
This machine is constructed according to the valid
and applicable directives and standards.
- However, the following residual risks may occur
during use:
- Cutting the fingers on the saw chain (wear
protective gloves)
- contact with the sanding sheet (wear protective
gloves)
- inhalation of sanding dust (wear dust mask)
- Contact with electrical current (supply line
defective, housing defective)
III.ASSEMBLY AND ADJUSTMENTS
PRE-ASSEMBLY
To reduce the packing size, the inside structure of
the sharpener has been improved. Note when the
machine is taken out from the packing. Adjust the
spring to right place firstly. Do as following
Unfolding the machine, you can see below
structure. Spring status from packing(Fig 1)
Fig 1
18
19
www.Deuba24online.de
Move this spring to right slots from both two
Fig 2
Note: this job there is no need to rely on any tool.
If you use some tool, there is much help for your
work.
ASSEMBLY
1. When installing the sharpener on a workbench,
make sure that the Lock Wheel(#18).is accessible,
2. Bolt(bolts not included) the unit directly to the
workbench through the two 1/4" holes on the
base(#17). The workbench must have a solid
product the workpiece and assorted tools. See
FIGTURE 4.
Fig 3
www.DeubaXXL.de
19
