Lexmark 25A0452 - C 736dtn Color Laser Printer Manuale dei media - Pagina 3

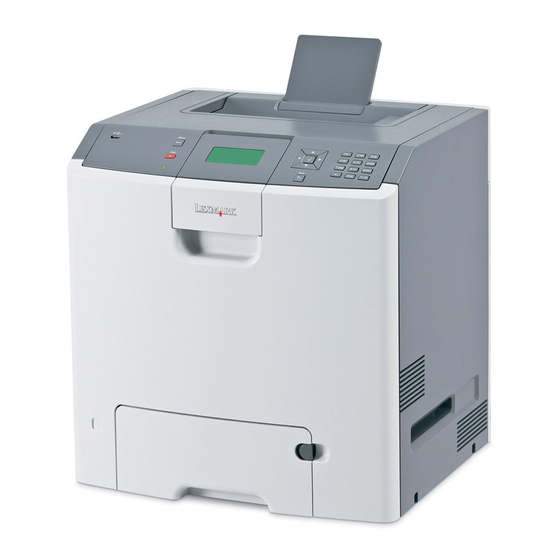
Sfoglia online o scarica il pdf Manuale dei media per Stampante Lexmark 25A0452 - C 736dtn Color Laser Printer. Lexmark 25A0452 - C 736dtn Color Laser Printer 3. Color laser printers
Anche per Lexmark 25A0452 - C 736dtn Color Laser Printer: Manuale di installazione del modulo vassoio (1 pagine), Manuale di installazione del modulo vassoio (2 pagine), Riferimento rapido (2 pagine), Manuale di connessione (5 pagine), Manuale di stampa (3 pagine), Opuscolo e specifiche (6 pagine), Manuale di stampa (9 pagine), Mappa del menu (3 pagine), Manuale delle forniture (2 pagine), Installazione (2 pagine), Manuale informativo (1 pagine), Manuale rapido (4 pagine)

Lexmark 25A0452 - C 736dtn Color Laser Printer Manuale dei media
Store individual packages on a flat surface.
Do not store anything on top of individual paper packages.

Avoiding jams

The following hints can help you avoid jams:
Use only recommended paper or specialty media.
For more information, see the Card Stock & Label Guide available on the Lexmark Web site at
www.lexmark.com/publications.
Do not load too much paper. Make sure the stack height does not exceed the indicated maximum height.
Do not load wrinkled, creased, damp, or curled paper.
Flex, fan, and straighten paper before loading it.
Do not use paper that has been cut or trimmed by hand.
Do not mix paper sizes, weights, or types in the same stack.
Store the paper in an appropriate environment.
Do not remove trays while the printer is printing. Wait for Load tray <x> or Ready to appear before removing a tray.
Do not load the multipurpose tray while the printer is printing. Load the tray prior to printing, or wait for Load
Multipurpose tray with <x> to appear.
Push all trays in firmly after loading paper.
Make sure the guides in the trays are properly positioned.
Make sure all paper sizes and paper types are set correctly in the printer control panel menu.
Make sure all printer cables are attached correctly. For more information, see the setup documentation.
Media guide
Page 3 of 3