Avaya IP Office 9611 Manuale d'uso - Pagina 2
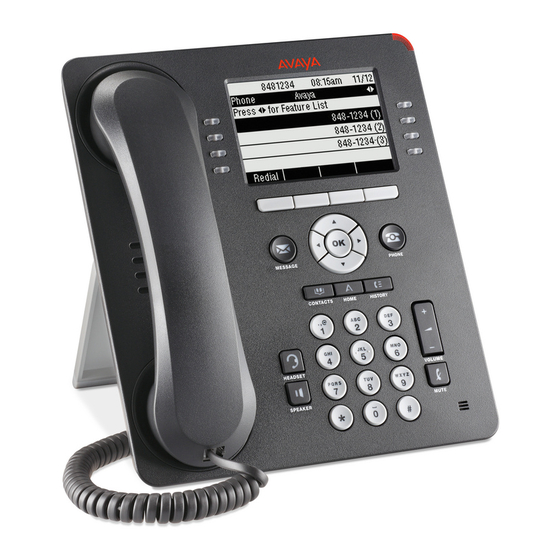
Sfoglia online o scarica il pdf Manuale d'uso per Telefono Avaya IP Office 9611. Avaya IP Office 9611 2. Duke farms
Anche per Avaya IP Office 9611: Manuale d'uso (11 pagine), Manuale di riferimento rapido (5 pagine), Manuale d'uso (4 pagine), Manuale rapido (11 pagine), Mini-manuale (8 pagine)
Call Directories
Contacts
(You can store up to 250 name and telephone numbers)
Viewing Contacts Details
Press the Contacts button to display the Contacts screen.
Select the contact you want to view.
Press the [Details] softkey to view all information available for that contact.
Adding a New Contact
Press the Contacts button .
Press the New softkey.
Enter the name using the dialpad.
Pressing the "2" on your dialpad displays the letter "A." Pressing the 2 key again
replaces the A with a "B," pressing it again replaces the B with a "C" and pressing it again
replaces the C with a "2;" pressing it again re-displays the letter "A," and so on. Pause be-
fore entering the next character if the characters are on the same key.
If you want to remove a letter, number, space, or symbol that is in the middle
of the text you entered, use
move. Once your cursor is in the correct position, press Bksp to remove the character
Press the [More] softkey Abc to change betw een upper and low er case
letters or to enter numbers.
Press the [ABC] again to cycle through the options (Abc/123/abc/ABC)
Press the [More] softkey Symbols to enter characters that are not on
your dialpad. Select the symbol you want to use. Press OK to select the symbol.
Press Clear to delete all text and start over.
Use the Navigation Arrows to scroll to the next field or press the corresponding Line but-
ton to select the next field.
Enter the telephone number.
Press the [Save] softkey.
Editing a Contact
Press the Contacts button.
the contact entry you wish to edit.
the [More] softkey Edit .
Choose the field you want to edit.
Use the dialpad and softkeys to make changes to the contact information.
Press the [Save] softkey.
Deleting a Contact
Press the Contacts button.
the contact entry you wish to delete.
the [More] softkey Delete .
the [Delete] softkey again to confirm.
History
Viewing the History
Press the History button.
Use the
to view separate lists of your missed, answered, or outgoing calls
NOTE: You can scroll quick ly to the top of the list by pressing Call Log again.
Viewing History Details
Press the History button.
Select the number you want to view.
Press the [Details] softkey.
Press the [Back] softkey to return to the list view.
Adding an Entry from the Call Log to your Contacts List
Press the History button.
Select the History entry you want to add to your Contacts list.
Press the [+Contact] softkey.
Edit name and telephone number, if necessary. Editing is same as above in Contacts section
Press Save.
Removing an Entry from the History
From the History screen, select the entry you wish to delete.
Press the [More] softkey.
Press the [Delete] softkey
Press the [Delete] softkey again to confirm,
retain the entry.
Clearing all Entries from the History
From the History screen, select the entry you wish to delete.
Select the list you want to delete. (All Calls list, Outgoing Calls list etc.)
Press the [More] softkey.
Press the [Clear All] softkey to delete all of the entries in the list you are viewing.
Press the [Clear All] softkey again to confirm.
to place your cursor after the character you want to re-
or
press the [Cancel] softkey if you wish to
(Features are dependent upon administrative rights)
Call Forward
calls to any extension number other than your coverage)
Press the [Call Fwd] softkey or Line button next to Call For-
ward.
You will hear dial tone. Enter the forwarding number. You will
hear a confirmation tone. The light next to the button will turn
on.
To deactivate Call Forward
Press the [Call Fwd] softkey or Line button next to Call For-
ward. You w ill hear dial tone.
Call Park
trieval at any extension.)
Parking a Call on Your Own Extension
Press the to view the phone features
Press the to locate Call Park.
Select
Press
Press the line button next to Call Park. Wait for confirmation
tone. Hang up.
The line button will be lit when a call is parked.
Retrieving A Parked Call
Lift your handset or press the Speaker button.
Select
Press the Park Retrieve button
Press
Dial the Extension number where the call was parked.
Press
You are connected to the parked caller and the light
on the
Call Park line button disappears.
If you receive intercept tone, the parked call has
been dis connected or retrieved by someone else.
Call Pickup
in your group. )
To answer a ringing phone, press the Call Pkup button and en-
ter the extension of the phone that is ringing. That call will now
be on the user's phone that picked up.
Send All Calls
From the Phone (Main) screen, press [SendCalls] Softkey
to send all your calls to voicemail.
When the feature is activated the button will be displayed
as [SendCalls]
From the Phone (Main) screen, press the [SendCalls]
Softkey to deactivate.
Directory
Access Directory
Press Directory
Using your keypad, enter the 1st 3 letters of the person's
last name
Scrolling through names
Press Next on the features menu
Names will scroll down based on letters you entered
Calling a Directory name
Press Make Call on the feature menu
Phone Features
(Allows you to re-direct your incoming
(Puts a call on hold at your extension for re-
(when you want to answer a ringing phone
(Company Directory)