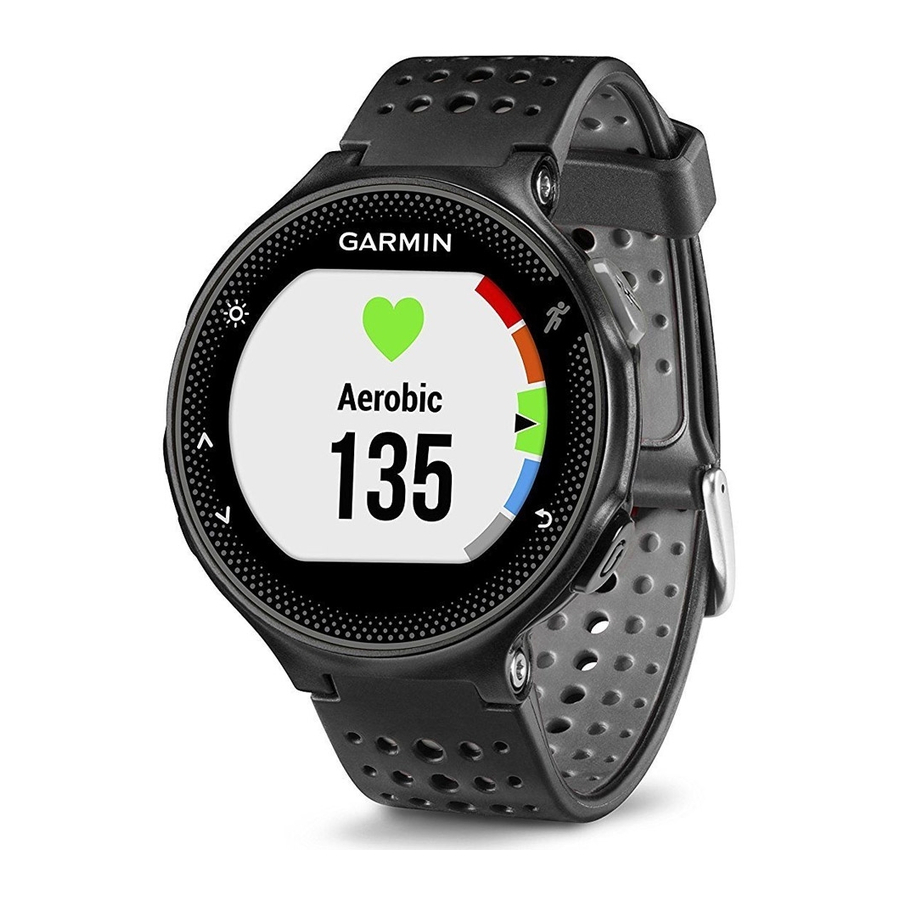
Garmin Forerunner 235 Manuale d'uso - Pagina 7
Sfoglia online o scarica il pdf Manuale d'uso per Guarda Garmin Forerunner 235. Garmin Forerunner 235 20.
Anche per Garmin Forerunner 235: Manuale di avvio rapido (13 pagine)

4
Select Send to Device, and follow the on-screen
instructions.
5
Disconnect the device.
Starting a Workout
Before you can start a workout, you must download a workout
from your Garmin Connect account.
1
Select Menu > Training > My Workouts.
2
Select a workout.
3
Select Do Workout.
After you begin a workout, the device displays each step of the
workout, the target (if any), and current workout data.
About the Training Calendar
The training calendar on your device is an extension of the
training calendar or schedule you set up in Garmin Connect.
After you have added a few workouts to the Garmin Connect
calendar, you can send them to your device. All scheduled
workouts sent to the device appear in the training calendar list
by date. When you select a day in the training calendar, you can
view or do the workout. The scheduled workout stays on your
device whether you complete it or skip it. When you send
scheduled workouts from Garmin Connect, they overwrite the
existing training calendar.
Using Garmin Connect Training Plans
Before you can download and use a training plan, you must
have a Garmin Connect account
You can browse your Garmin Connect account to find a training
plan, schedule workouts, and send them to your device.
1
Connect the device to your computer.
2
From your Garmin Connect account, select and schedule a
training plan.
3
Review the training plan in your calendar.
4
Select
, and follow the on-screen instructions.
Interval Workouts
You can create interval workouts based on distance or time. The
device saves your custom interval workout until you create
another interval workout. You can use open intervals for track
workouts and when you are running a known distance. When
you select
, the device records an interval and moves to a
rest interval.
Creating an Interval Workout
1
Select Menu > Training > Intervals > Edit > Interval >
Type.
2
Select Distance, Time, or Open.
TIP: You can create an open-ended interval by setting the
type to Open.
3
Select Duration, enter a distance or time interval value for
the workout, and select
4
Select Rest > Type.
5
Select Distance, Time, or Open.
6
If necessary, enter a distance or time value for the rest
interval, and select
.
7
Select one or more options:
• To set the number of repetitions, select Repeat.
• To add an open-ended warm up to your workout, select
Warm Up > On.
• To add an open-ended cool down to your workout, select
Cool Down > On.
Starting an Interval Workout
1
Select Menu > Training > Intervals > Do Workout.
2
Select .
Heart Rate Features
(Garmin Connect, page
.
3
When your interval workout has a warm up, select
begin the first interval.
4
Follow the on-screen instructions.
When you complete all of the intervals, a message appears.
Stopping a Workout
• At any time, select
• At any time, select
Personal Records
When you complete an activity, the device displays any new
personal records you achieved during that activity. Personal
records include your fastest time over several typical race
distances and longest run or ride.
Viewing Your Personal Records
1
Select Menu > My Stats > Records.
2
Select a sport.
3
Select a record.
4
Select View Record.
Restoring a Personal Record
You can set each personal record back to the one previously
recorded.
1
Select Menu > My Stats > Records.
2
Select a sport.
3
Select a record to restore.
7).
4
Select Previous > Yes.
NOTE: This does not delete any saved activities.
Clearing a Personal Record
1
Select Menu > My Stats > Records.
2
Select a sport.
3
Select a record to delete.
4
Select Clear Record > Yes.
NOTE: This does not delete any saved activities.
Clearing All Personal Records
1
Select Menu > My Stats > Records.
NOTE: This does not delete any saved activities.
2
Select a sport.
3
Select Clear All Records > Yes.
The records are deleted only for that sport.
This manual is for the Forerunner 230 and 235 models. The
heart rate features described in this section apply to both
Forerunner models. You must have a heart rate monitor to use
these features.
Forerunner 230: This device is compatible with ANT+
rate monitors.
Forerunner 235: This device has a wrist-based heart rate
monitor and is compatible with ANT+ heart rate monitors.
Setting Your Heart Rate Zones
The device uses your user profile information from the initial
setup to determine your default heart rate zones. You can
manually enter heart rate values and set the range for each
zone.
1
Select Menu > My Stats > User Profile > Heart Rate
Zones.
2
Select Max. HR, and enter your maximum heart rate.
3
Select Resting HR, and enter your resting heart rate.
4
Select Zones > Based On.
to end a workout step.
to stop the timer.
Heart Rate Features
to
®
heart
3
