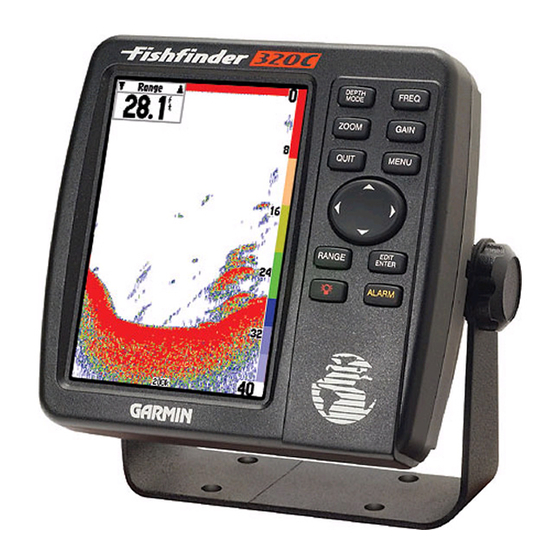
Garmin Fishfinder 320C Manuale d'uso e manuale di riferimento - Pagina 14
Sfoglia online o scarica il pdf Manuale d'uso e manuale di riferimento per Sistema GPS marino Garmin Fishfinder 320C. Garmin Fishfinder 320C 38. Sunlight-readable color sonar
Anche per Garmin Fishfinder 320C: Manuale dei modelli (1 pagine), Specifiche tecniche (2 pagine), Specifiche tecniche (2 pagine)

Installation
Mounting the Transducer
PVC Pipe
or a Can
Strip Caulk
or RTV Sealer
Hull Surface
Testing the Location
6
To avoid drilling a hole to mount a thru-hull transducer, a transducer may be secured with epoxy inside
a boat ("shoot-thru-hull" installation). This type of installation can provide better noise reduction and allow
you to use a higher gain setting. For a transducer to be mounted inside the hull (shoot-thru, not thru-hull),
the boat must be fi berglass, with no core. Contact your boat manufacturer if you are unsure. Professional
installation may be necessary. Be sure to always wear a dust mask and safety goggles.
Shoot-Thru-Hull Installation
Some transducers are specifi cally designed to be mounted inside a fi berglass hull. The standard plastic
transom mount transducer can also be mounted in this fashion using this method. If using a temperature
sensing transducer, the temperature displayed will refl ect the hull temperature.
Selecting a location:
1. The location has to be solid fi berglass, devoid of any air bubbles, laminates, fi llers or dead air space. The
Weight transducer
location needs to be in an area of clean water at all speeds. Do not place the transducer over any strakes
to hold it in place
or behind any obstruction on the hull that would create turbulence at speed.
NOTE: Many modern hulls have a prelocated pocket for shoot-thru-hull transducer
Fill Pipe or Can
installation. If you are unsure if your hull is equipped with a pre-located pocket,
with water or a
contact your hull manufacturer.
light mineral oil
Testing the location:
1. Fabricate a test device from a section of PVC pipe or a can, as shown in the side bar.
2. Temporarily seal the test device to the hull with caulking or RTV sealer, and fi ll with water or light
mineral oil.
3. Place the transducer in the water, pointed directly at the bottom and weight it down. Set unit for opti-
mum performance. If the sonar performance is signifi cantly degraded, another location will need to be
tested.
Permanently installing the transducer:
1. Lightly sand the surface of the hull and face of the transducer with 400 grit wet or dry sandpaper.
2. Build a dam using strip caulk about 1/4" tall. Pour about 1/8" of two part, slow cure epoxy in the dam.
3. Place the transducer in the epoxy, turning the transducer to work out any air bubbles.
4. Weight the transducer in place and allow to cure for 24 hours.
