DeZurik POWERRAC R1 Manuale di istruzioni - Pagina 13
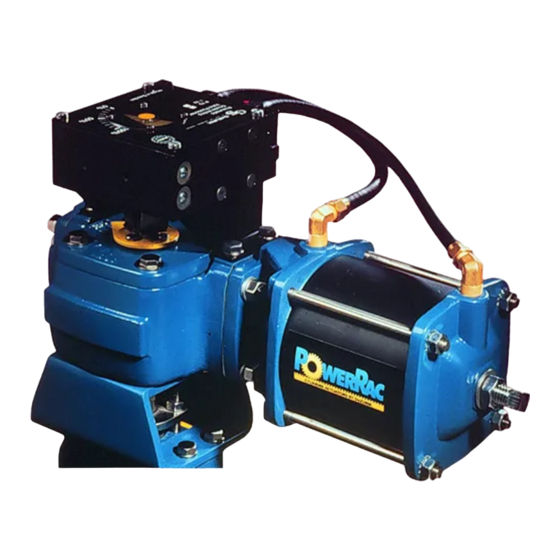
Sfoglia online o scarica il pdf Manuale di istruzioni per Controllore DeZurik POWERRAC R1. DeZurik POWERRAC R1 20. Spring-return actuator used on 1/2-3" pec eccentric valves
Actuator Reassembly
7. With the pneumatic connections facing upwards (towards the top of the actuator), mount the
cylinder assembly (S00) and the gasket (B16) to the housing (B1).
Note: For a spring-to-close actuator, use the four studs (B18) on the right-hand side of the
housing, as viewed when facing the data plate (B24). For a spring-to-open unit, use the studs
on the left-hand side of the housing.
8. Place the nuts (B20) and lockwashers (B19) on the studs and tighten the nuts to 15 ± 2 foot
pounds (20 ± 3 Nm).
9. With the four tapped holes facing down, place the gear (B8) into the housing bearing (B2), and
engage the gear teeth with the rack (B5) teeth so that the marked tooth on the rack and the two
marked teeth on the gear are positioned as shown in Figure 7:
10. Place the O-ring (B10) in the groove of the top cover (B11).
11. Mount the top cover (B11) and gasket (B13) to the housing (B1) with the four screws (B15) and
washers (B14) and tighten the screws to 15 ± 2 foot pounds (20 ± 3 Nm).
12. Place the actuator in the fail position (with the piston rod (S4) extended into the actuator) before
the next step.
13. Tighten the rack screw (B7) to 35 ± 5 foot pounds (47 ± 7 Nm).
14. Turn the jam nut (B22) onto the stop screw (B21), and turn the stop screw into the center hole in
the end cover (B17) until the end of the stop screw protrudes about 1/4" (6 mm) through the end
cover.
November 2020
(continued)
Figure 7—Gear Alignment
Page 13
DeZURIK
D10389