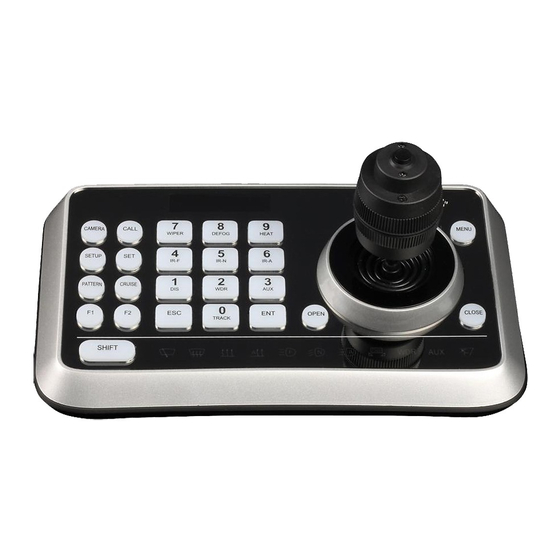
Avonic CM-CON100 Manuale d'uso - Pagina 12
Sfoglia online o scarica il pdf Manuale d'uso per Telecamera di sicurezza Avonic CM-CON100. Avonic CM-CON100 16. Ptz camera controller
Anche per Avonic CM-CON100: Manuale d'uso (12 pagine), Manuale d'uso (10 pagine), Manuale d'uso (13 pagine), Manuale d'uso (11 pagine)

Setup Menu
Press
to enter the Setup menu. Fill in the "ADMIN PIN". The initial ADMIN PIN is "111111".
The camera setting screen will show up. Use the joystick up and down to scroll through the menu features.
Move the stick to the right to enter the menu features and move the joystick to the left to leave the menu
features. It is also possible to use the
picture below:
1. Camera Setting
Setting
Functionality
Camera ID**
Sets unique Camera Identification number
Protocol Setting
Sets camera control protocol
Baud Rate
Sets the rate at which information is send
between controller and camera
Address**
Sets a specific (protocol) address for a
camera.
Increment*
Batches program camera's in the system
with the same baudrate, protocol for
multiple camera's. So you can control
multiple camera's at the same time.
* Note that the address increment between to sequental camera's. For example, if the current camera address
is 1 and the increment is 2, then the next camera address is 3.
** Note also that it is very easy to confuse (Protocol) address, Camera ID and the SET/CALL functionality! (see page 11)
Keep always in mind in which feature and menu you are making changes.
2. Time Setting
Time Setting
1.
Move the joystick down and right to enter the Time Setting menu.
2.
Move
to change the numbers and
3.
Press
to save the time.
www.avonic.com
button to leave a menu feature, or delete a wrong insert. See the
-
Hours / Minutes / Seconds
Operation
1.
Move the joystick to the right to enter the Camera Setting
menu. The
: appear on the screen. This will set the
Camera ID. Press 1 - 255 to set the ID and press
2.
Move
to change the protocol setting (VISCA,
VISCA DC, PELCO D, PELCO P) and press
3.
Move
to change the Baud Rate (2400, 4800, 9600,
19200, 38400) and press
4.
Standard "'1", but you can set it between 1 - 255.
5.
After you set the Camera Address, press SHIFT to enter
the increment menu. Input a number within 1~20,
press
to confirm.
to change hours, minutes and seconds.
Back to top
12
