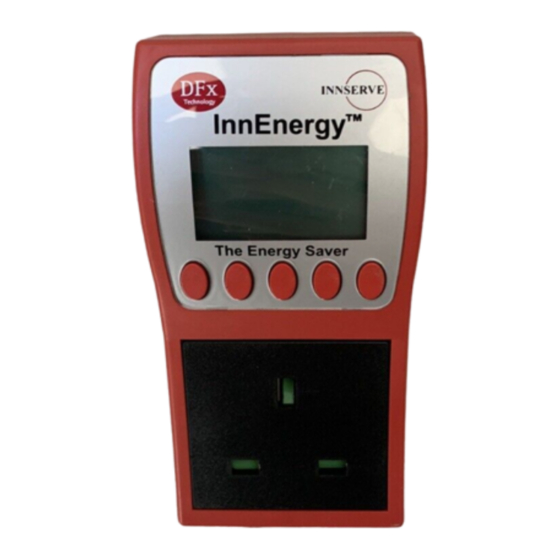
DFx Technology InnEnergy Manuale di istruzioni - Pagina 10
Sfoglia online o scarica il pdf Manuale di istruzioni per Interruttore DFx Technology InnEnergy. DFx Technology InnEnergy 16.

button (button 4) to display the 'Trading Hours' data input screen. Trading hours
are programmed into the InnEnergy® device according to day. To select the day
for which trading hours need to be set press the DAY button (button 3) until the
name of the correct day is displayed in the middle of the screen.
Selecting the Correct Time Period:
Up to 4 different opening (OPEN) and closing (CLOSE) times can be set for any
given day, for example, if an establishment opens between 10:00 – 12:00, 12:30
– 13:00, 13:30 – 15:00 and 15:30 – 17:00 on a Monday these opening and closing
times can be programmed into the device for Monday. Each opening and closing
time needs to be programmed separately. By pressing the TIME button (button 2)
it is possible to scroll through these opening and closing times (OPEN1, CLOSE 1,
OPEN 2, CLOSE 2, OPEN 3, CLOSE 3, OPEN 4 and CLOSE 4). Once CLOSE 4
has been reached the InnEnergy device will auto-
matically scroll to the following day when the TIME
button (button 2) is pressed. Please Note: Older
InnEnergy® devices refer to 'OPEN' as 'ON' and
'CLOSE' as 'OFF'.
Inputting Data:
With the 'Trading Hours' data input screen be-
ing displayed choose the desired day and scroll
through the various opening and closing times until
'OPEN 1' is displayed (if this is not already being
shown). The time displayed on the right side of the screen represents the time at
which the establishment first opens on the selected day. To set/change this time
press the > button (button 5). Press the <INC button (button 1) to increment the
highlighted digit. To input the next digit press the SET> button (button 5). Once all
4 digits have been inputted press the SET> button (button 5) to set this new open-
ing time and return to the 'Trading Hours' data input screen. Note: Trading hours
can be programmed to the nearest 10 minutes.
Having set this opening time it is necessary to set the next time at which the
establishment closes on that day. To do this, press the time button (button 2) until
'CLOSE 1' is displayed. To set/change this time press the > button (button 5).
Press the <INC button (button 1) to increment the highlighted digit. To input the
next digit press the SET> button (button 5). As before, once all 4 digits have been
inputted press the SET> button (button 5) to set this new closing time and return
to the 'Trading Hours' data input screen. If the establishment opens again on the
same day, scroll through various opening and closing times until 'OPEN 2' is dis-
played and repeat the process. As stated, up to 4 different trading periods can be
set for any given day.
In some cases not all 4 'OPEN' and 'CLOSE' times will have values (for example,
when an establishment is only open between 11:00 and 23:00 and does not open
for any other periods of the day). Where this is the case all other 'OPEN' and
10
