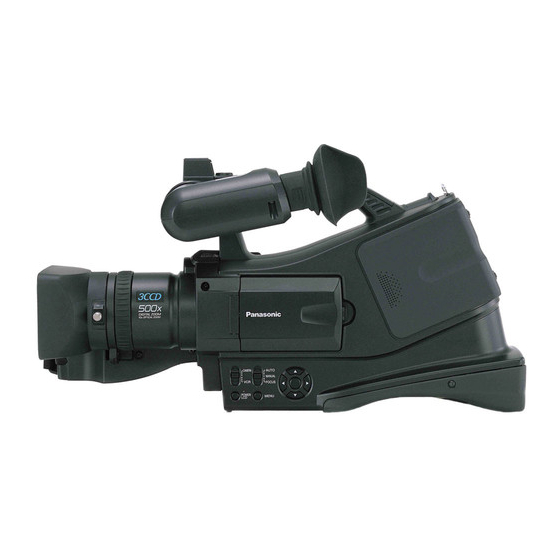
Panasonic AGDVC20P - 3 CCD DV CAMCORDER Manuale di istruzioni per l'uso - Pagina 29
Sfoglia online o scarica il pdf Manuale di istruzioni per l'uso per Videocamera Panasonic AGDVC20P - 3 CCD DV CAMCORDER. Panasonic AGDVC20P - 3 CCD DV CAMCORDER 42. Agmini-dv camera/recorder
Anche per Panasonic AGDVC20P - 3 CCD DV CAMCORDER: Manuale di istruzioni per l'uso (40 pagine), Manuale di istruzioni per l'uso (42 pagine)

Using the DV Cable for Recording
(Digital Dubbing)
By connecting other digital video equipment with DV terminal
and the camera-recorder by using the DV cable (optional) 1,
high-image-quality dubbing can be done in digital format.
≥Set to Tape Playback Mode. (Player/recorder)
1
Connect the camera-recorder and digital video
equipment with the DV cable.
DV
1
DV
2
Set [ADVANCE] >> [REC STDBY] >> [YES]. (Recorder)
≥You do not have to follow this step when the remote control is
used in the digital dubbing.
3
Start playback. (Player)
4
Start recording. (Recorder)
Press the [3] button to select [¥/;] icon.
≥Or, without operating step 2
While pressing the [¥REC] button on the remote control,
press the [1] button.
V
/REW
STILL ADV
5
Press the [3] button to select the [¥/;] icon again or
press the [;] button on the remote control to stop
recording. (Recorder)
6
Stop playback. (Player)
T
¥
REC
A.DUB
W
PLAY
FF/
W
VOL
PAUSE
STILL ADV
STOP
Edit mode
You can connect a digital video unit equipped with a DV
connector and digitally transfer video and audio signals as well
as time code.
≥Before proceeding to connect or disconnect DV (IEEE1394)
cable, be absolutely sure to turn off the power of the units.
≥Before proceeding to connect the
unit which uses a 6-pin type DV
connector, carefully check the
shape of the DV (IEEE1394) cable
and the connectors on the DV
(IEEE1394) cable. Connecting a
connector upside down may
damage the parts inside the unit
and cause malfunctioning. Furthermore, connect the DV
(IEEE1394) cable to the unit which uses a 6-pin type DV
connector first.
≥When recording signals from an external unit, first check that
video signals are supplied.
≥While signals from an external unit are being recorded, do not
stop output on the external unit side or disconnect any of
cables. This may lead to a failure to recognize the signals
when you do recording again.
≥Do not apply force when connecting DV (IEEE1394) cable to
DV connector as this may damage the connector.
ª
To cancel the standby for recording
When the camera-recorder is standby for recording, press the
[4] button and select the [∫] icon.
≥Do not plug or unplug the DV cable during dubbing, or the
dubbing may not be completed properly.
≥If a picture (bilingual video, etc.) containing main sound and
sub sound has been dubbed, select the desired sound by
[SETUP] >> [AUDIO OUT] on playback.
≥Even if you use a device equipped with DV terminals such as
IEEE1394, you may not be able to perform digital dubbing in
some cases. For more information, see the instructions for
equipment connected.
≥Regardless of the menu settings on the recorder, digital
dubbing is carried out in the same mode as the [AUDIO REC]
mode of the playback tape.
≥The images on the recorder monitor may be disturbed, but it
does not affect the recorded images.
≥If a picture containing a copyright protection signal (copy
guard) is recorded by the camera-recorder, the picture is
distorted by mosaic-like patterns at playback.
≥When wide images are input, the display such as the menu
screen or the operation icon is expanded horizontally.
≥While pictures are input from the DV terminal, the operation
icon blinks on instead of appearing from the side of the screen
when you press the [ENTER] button.
4-pin
6-pin
type
type
29
