DIBSIES CREATIVE WONDERS TOY BOX Manuale di montaggio - Pagina 5
Sfoglia online o scarica il pdf Manuale di montaggio per Arredamento per interni DIBSIES CREATIVE WONDERS TOY BOX. DIBSIES CREATIVE WONDERS TOY BOX 8.
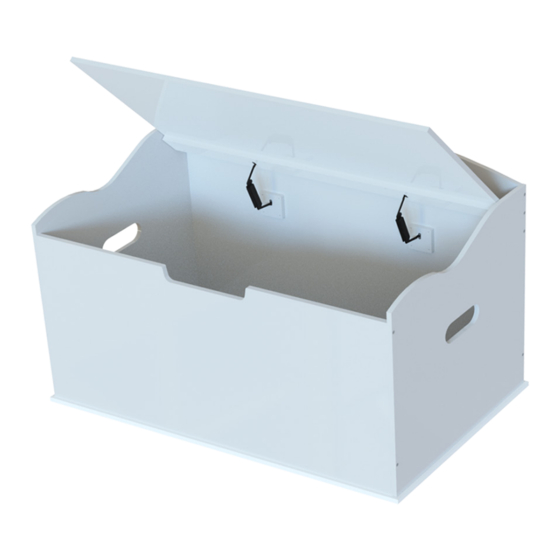
INSTRUCTIONS
Step 1 Continued - Assembly of Panels
3.
Insert two Part D Dowels
Locate the Part F panel and two Part
D dowels. Insert one Part D dowel
into Part F and one into Part E as
shown.
Step 2 - Attaching Part G (Bottom Panel)
1.
Locate & Align Part
First, flip the toy box over and ensure
it is balanced. Next, locate Part G and
align it with the assembly. Note: One
side of Part G has recessed holes.
Ensure Part G is flipped the correct
way and the recessed holes are visible
prior to inserting screws.
4
4.
Locate and align Part B
Locate Part B and align the holes of
the panel with the assembly as shown.
Ensure the Part D dowels on the
assembly align and insert into the Part
B panel.
2.
Locate & Insert eight
Part J screws
Locate eight Part J screws and insert
them into the holes as shown.
5.
Secure Part B
Secure Part B by inserting and
tightening six Part J screws using a
Phillips screwdriver.
DO NOT OVER TIGHTEN
3.
Secure Part G
Secure Part G by tightening all
eight Part J screws using a Phillips
screwdriver. Note: Two holes in
Part G will not be secured until a
later step.
DO NOT OVER TIGHTEN