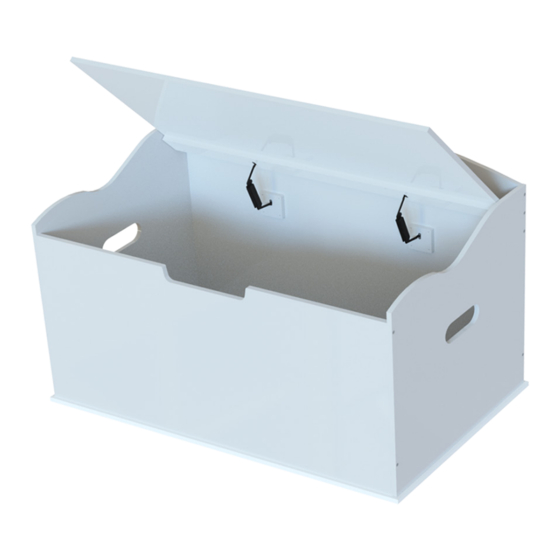
DIBSIES CREATIVE WONDERS TOY BOX Manuale di montaggio - Pagina 6
Sfoglia online o scarica il pdf Manuale di montaggio per Arredamento per interni DIBSIES CREATIVE WONDERS TOY BOX. DIBSIES CREATIVE WONDERS TOY BOX 8.

INSTRUCTIONS
Step 3 - Attaching Part H (Lid)
1.
Prepare Part H
Locate Part H and two Part I pieces
(Pivot Pins).
Step 4 - Attaching Part A (Left Side Panel)
1.
Insert two Part D
Dowels
Locate two Part D dowels. Insert
one Part D dowel into Part F and
one into Part E as shown.
2.
Insert two Part I pieces
into Part H
Insert one Part I into the left hole at
the back of Part H as shown and the
other Part I into the right hole.
4.
Ensure Part H is attached correctly
Ensure Part H remains level on the main assembly and that it can be lifted
open and closed shut without any issues.
2.
Locate and align
Part A
Locate Part A and align the holes of
the panel with the assembly as shown.
Ensure the Part D dowels and Part I
(Pivot Pin) on the assembly align and
insert into the Part A panel.
4.
Insert two Part J
screws into Part G
Locate two Part J screws. Insert into
the remaining holes of Part G and
tighten
.
3.
Attach Part H to
the assembly
Attach Part H to the assembly by
inserting the right side Part I (Pivot
Pin) into the hole in Part B as shown.
3.
Secure Part A
Secure Part A by inserting and
tightening six Part J screws using
a Phillips screwdriver.
DO NOT OVER TIGHTEN
5
