Olympus CIX100 Manuale di configurazione dei sistemi - Pagina 20
Sfoglia online o scarica il pdf Manuale di configurazione dei sistemi per Apparecchiature di laboratorio Olympus CIX100. Olympus CIX100 38. Cleanliness inspector system
Anche per Olympus CIX100: Manuale di installazione (14 pagine), Manuale di istruzioni (46 pagine)
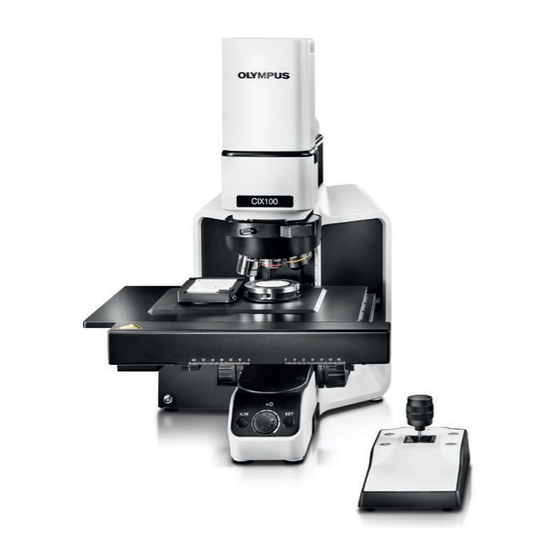
OLYMPUS Cleanliness Inspector CIX100
5 Switching on the system
5
Switching on the system
5.1
Inserting hardware components
Caution
Pinching hazard
When the stage moves, gaps appear. This creates a pinching hazard.
Make sure that you are not within the stage's range of movement when it is
moving.
Try never to put your hands or fingers into any gaps.
Attention
Damage to the objective
Make sure that the objectives don't hit the sample.
System Setup Guide
1. Switch on the microscope.
2. First switch on the monitor, then the computer.
1. Move the stage right to the front, so that you can easily access the
multi-sample holder's insertion area.
2. Make sure not to scratch the objectives when you insert the multi-
sample holder.
3. There is a spring in the bottom left of the multi-sample holder's insertion
area. First place the multi-sample holder at the bottom left corner and
then insert it.
The multi-sample holder should not wobble when it is correctly
inserted.
4. Place the particle standard device in position 2 of the multi-sample
holder.
5. Place the filter holder with the sample in position 1 of the multi-sample
holder.
6. Use the joystick to move the stage back again.
7. Use the coarse adjustment knob on the microscope system to move
the stage to its return position. The return position corresponds to the
coarse adjustment knob's top end position.
8. Set the brightness of the LED illumination to maximum. To do this,
rotate the brightness control knob at the front of the microscope frame
clockwise.
20