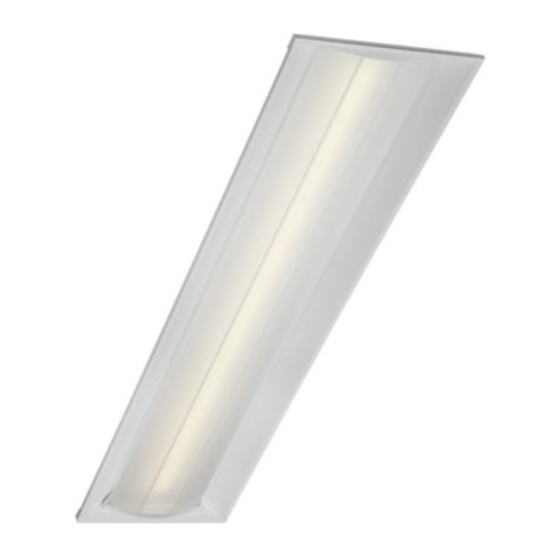
CREE LIGHTING FLEX FLX24 Istruzioni per l'installazione - Pagina 4
Sfoglia online o scarica il pdf Istruzioni per l'installazione per Apparecchiature di illuminazione CREE LIGHTING FLEX FLX24. CREE LIGHTING FLEX FLX24 4. Commercial specification troffers with emergency driver

ELECTRICAL CONNECTIONS
NOTE: The emergency driver must be fed from
the same branch as the AC Driver.
STEP 1:
Using customer supplied 90°C minimum rated wire
connectors, make the following electrical connections:
a. Connect the black luminaire lead to the
unswitched voltage supply lead.
b. Connect the white/red luminaire lead to
the switched supply switched.
c. Connect white luminaire lead to the neutral supply lead.
d. Connect ground bare or green/yellow wire
lead to the supply ground lead.
e. If 0/1-10V Dimming is used, connect the violet lead
to the supply positive dimming lead. If dimming is
not being used ensure to cap off the violet lead.
f.
If 0/1-10V Dimming is used, connect the gray lead
to the supply negative dimming lead. If dimming is
not being used ensure to cap off the gray lead.
g. Secure incoming dimming leads to the existing strain
relief, to prevent contact with primary wiring.
STEP 2:
Locate the two red leads in the junction box and connect them using
customer supplied connector.
© 2019 Cree Lighting, A company of IDEAL INDUSTRIES. All rights reserved. For informational purposes only. Content
is subject to change. See www.creelighting.com/warranty for warranty and specifications. Cree
registered trademarks of Cree, Inc. FLX14™, FLX22™ and FLX24™ are trademarks of Cree Lighting, A company of IDEAL
INDUSTRIES. Armstrong
is a registered trademark of AWI Licensing LLC.
®
4 of 4
** NOTE: DO NOT mate leads until installation
is complete and AC power is supplied
and the Cree logo are
®
LUMINAIRE
BARE OR
GREEN/YELLOW
GROUND
NEUTRAL
WHITE
WHITE
SWITCHED HOT
WHITE/RED
UNSWITCHED HOT
BLACK
DIM (+) VIOLET
VIOLET
DIM (-) GREY
GREY
**RED
**RED
www.creelighting.com
LPN00439X0001A1_C
