Siemens SIPART PS2 Istruzioni per l'installazione del kit - Pagina 4

Sfoglia online o scarica il pdf Istruzioni per l'installazione del kit per Apparecchiature industriali Siemens SIPART PS2. Siemens SIPART PS2 9. Mounting bracket kit
Anche per Siemens SIPART PS2: Istruzioni per l'installazione (4 pagine), Manuale di istruzioni per l'uso (28 pagine), Istruzioni per l'installazione (4 pagine), Manuale di installazione dell'hardware (30 pagine), Descrizione tecnica (26 pagine), Istruzioni per l'uso compatte (35 pagine), Istruzioni per l'installazione (11 pagine)
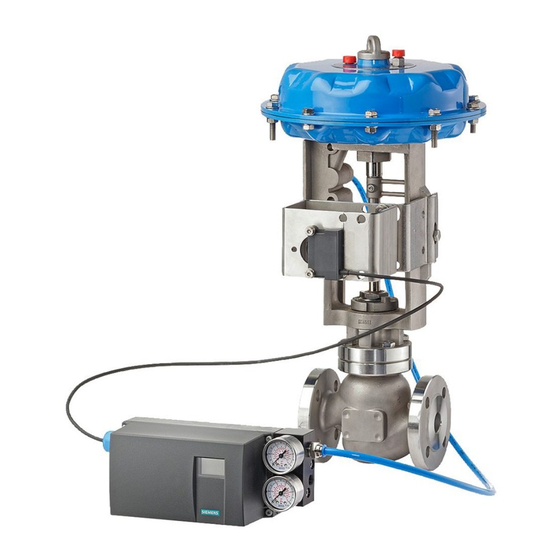
Siemens SIPART PS2 Istruzioni per l'installazione del kit
15900-796
Install the Linear Adapter on the Positioner Input Shaft
1. Using the supplied hex wrench, screw the setscrew into the linear adapter until the tip of the
setscrew is just visible in the hole in the end of the adapter. See the drawing below, left.
2. The PS2 input shaft is shown above, right. It extends from the bottom of the positioner and is flat
on one side. Place the linear adapter on the PS2 input shaft so the setscrew can be tightened
against the flat on the input shaft. Tighten the setscrew securely.
Fasten the Mounting Bracket Plate to the PS2
Refer to figure 1 and attach the PS2 to the four mounting slots. Use the four M6 x 12 hex bolts
lockwashers and flat washers. Do not tighten at this time.
Install the Feedback Lever on the Linear Adapter (4" long arm is shown)
Fasten the feedback lever to the linear adapter using the supplied split lockwasher and nut. See
Figure 4.
Note: A 4 lever is shown.
Assembly is the same for all lever sizes.
Install Feedback Pin on the Stem Clamp
1. Thread the 5/16-18 hex nut as far as it can go- against the end of threads.
2. Insert the threaded end of the feedback pin into the stem clamp, do not tighten.
3. Loosely install the stem block and pin assembly to the actuator's shaft.
FIGURE 4 Feedback Lever and Retaining Clip Orientation
Input Shaft
4