Digital Loggers Ethernet Power Controller II Manuale d'uso - Pagina 3
Sfoglia online o scarica il pdf Manuale d'uso per Controllore Digital Loggers Ethernet Power Controller II. Digital Loggers Ethernet Power Controller II 8.
,PSRUWDQW )DFWRU\ 'HIDXOWV
DEFAULT IP ADDRESS
The factory default IP address is 192.168.0.100
DEFAULT ADMINISTRATOR LOGIN
User name; admin
(lower case)
Password: 1234
Note, these defaults have changed since the new release of this
product. Users of the legacy PC-8000 product should visit
www.digital-loggers.com/epc.html
To reset the IP address and admin login to factory defaults, press the
reset button near the Ethernet jack gently.
Note: This procedure resets the admin login and IP address, but it
doesn't affect outlet names and links.
4XLFN 6HWXS
Use these shortcuts if you are an experienced installer. If you are
unfamiliar with the installation of power controllers, please contact
DLI for technical support and installation services.
1. Remove the power controller from its shipping carton. Save
the carton and packing, in case of future upgrade.
2. Check the voltage switch on the bottom of the unit.
3. Attach the power cords to two fused 110/220VAC power
sources with a capacity of at least 15 amperes each.
4. Attach the cable from the controller to a port on your LAN. If
the default IP address of
compatible with your network, a crossover cable may help
Ethernet Power Controller II
4
http://192.168.0.100
isn't
www.digital-loggers.com
during initial configuration. Switch power on. After 10
seconds, a link light should appear. If you are connected to a
switch, you may need to cycle power to establish the port
speed on the switch.
5. Ping the default address
a good network connection has been established. If you
don't receive a response, use a crossover cable and see the
"Windows IP setup." Section below.
6. Log in to the power controller using the default user name
"admin" and the password "1234" .
"admin" must be entered in lower case.
7. Click on the "Settings" link to reach the main configuration
page.
8. Complete the configuration information as described below.
After each section is completed, click the "Submit" button and
wait for the page to refresh before continuing to the next
section.
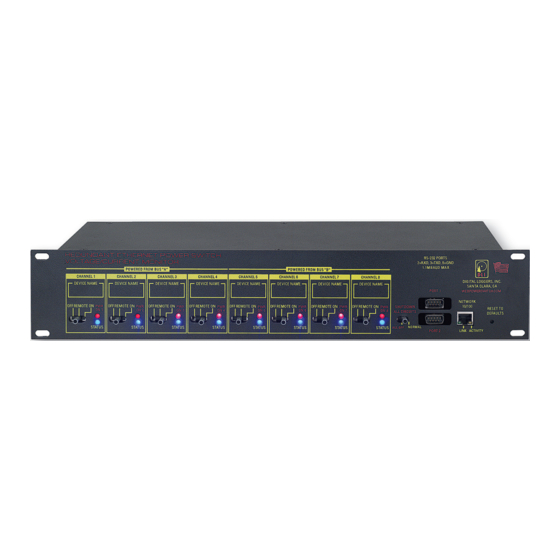
9. Set the front panel switches to ON for always on, OFF for
always off, or REM for remote control via Ethernet or serial
connection.
Tip: A lamp or other small appliance is handy for testing the
controller. This ensures that the controller has been configured
properly before attaching your equipment.
:LQGRZV ,3 6HWXS ;3
If your default Windows settings won't access the controller, use a
crossover cable and follow these steps to reach the controller's IP.
Before adding an IP, close network programs and browsers. Go to
the Network Settings – Local Area Network. Use the keyboard
shortcut <Windows-R> - type "ncpa.cpl" and click OK. Right click on
your LAN connection and choose "Properties". Highlight "Internet
Protocol" and click the "Properties" button. Click the "Advanced"
button. Under the IP Address settings, click the "Add" button. Enter
http://192.168.0.100
to confirm that
Ethernet Power Controller II
5