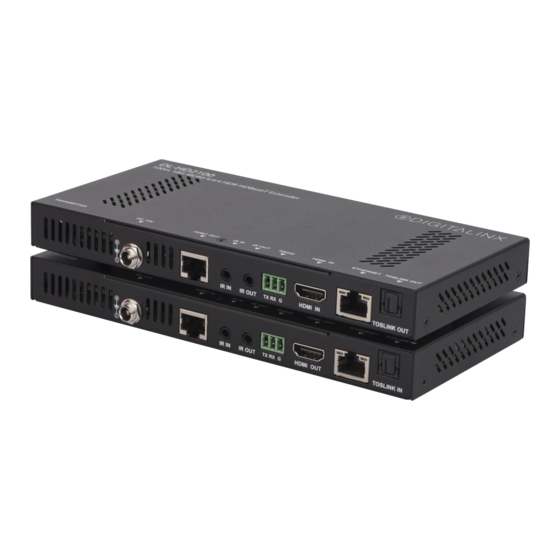
DigitaLinx DL-HD2100 Manuale di installazione rapida - Pagina 5
Sfoglia online o scarica il pdf Manuale di installazione rapida per Estensore DigitaLinx DL-HD2100. DigitaLinx DL-HD2100 8. Hdbaset extender set
Anche per DigitaLinx DL-HD2100: Manuale di installazione rapida (8 pagine), Manuale d'uso (17 pagine)

1. Verify all components included with the extender set are present before
installati on.
2. If the extenders are going to be permanently mounted to a surface, att ach the
included mounti ng brackets with the supplied screws.
3. Turn off power and disconnect the audio/video equipment by following the
manufacturer's instructi ons.
4. Connect Category 6 or greater twisted pair cable with RJ45 connectors between
the transmitt er and the receiver. TIA/EIA-568B straight-through wiring connecti ons
must be used with all HDBaseT extenders.
5. Connect an HDMI cable and any desired control accessories between the
display and the receiver.
6. Connect an HDMI cable and any desired control accessories between the source
and the transmitt er.
7. Connect the included power supply to the transmitt er or receiver and lock the
power supply to the power connector by twisti ng the locking collar clockwise.
8. Power on att ached audio/video devices.
Passing IR Signals:
The DL-HD2100 is capable of passing IR signals between 33 and 55 KHz. To
prevent damage to any of the electronics, the extenders should be powered off
while inserti ng or removing any IR components. Inserti ng an IR transmitt er into
the IR IN port may damage the IR circuit for that extender.
IR OUT: The IR transmitt er (IR emitt er) must be plugged into the IR OUT port.
IR IN: The IR receiver (IR eye) must be plugged into the IR IN port.
To connect to a 3rd party IR system such as a control system, connect the TS
connector of the IR-AC coupling cable to the IR output port of the control
system and connect the TRS connector of the IR-AC cable to the IR IN to either
transmitt er or receiver of the DL-HD2100.
Connecti vity Instructi ons
