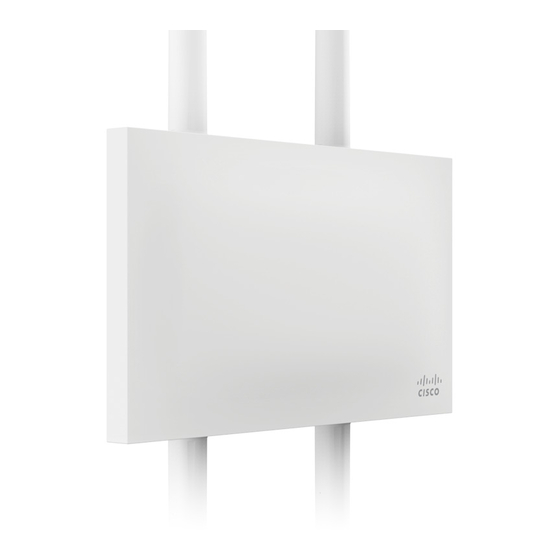
Cisco MERAKI MR72 Manuale di installazione - Pagina 9
Sfoglia online o scarica il pdf Manuale di installazione per Punto di accesso wireless Cisco MERAKI MR72. Cisco MERAKI MR72 20.
Anche per Cisco MERAKI MR72: Manuale di installazione dell'hardware (16 pagine)

Attach Antennas
Remove protective plastic covers from all four N-type RF connectors. Attach appropriate antennas (and protective boots
if included).
Power the MR72
1. Route the Ethernet cable from the PoE Injector "OUT" port or from a PoE enabled switch to the MR72.
2. Install a Cable Gland on the MR72 end of the cable.
3. Plug the Ethernet cable into the Ethernet port of the Meraki MR72.
a. Connect the cable to the Ethernet port on the MR72.
b. Screw the gland body into the threaded hole of the port. Use an adjustable wrench to make sure the gland
body is fully seated in the hole.
c. Insert the split ring gasket into the gland body.
d. Screw the cap tightly onto the gland. You may need a wrench to fully tighten the cap, but take care not to
damage the cable in the process.
Powering the MR72 with the Meraki 802.3at Power over Ethernet Injector (sold separately)
1. Plug the power cord into the PoE Injector and the other end into wall power.
2. Plug an Ethernet cable that is connected to an active Ethernet connection into the "IN" port on the injector.
3. Route Ethernet cable from the "OUT" port on the injector to the Eth0 port in the cable bay of the MR72.
9
