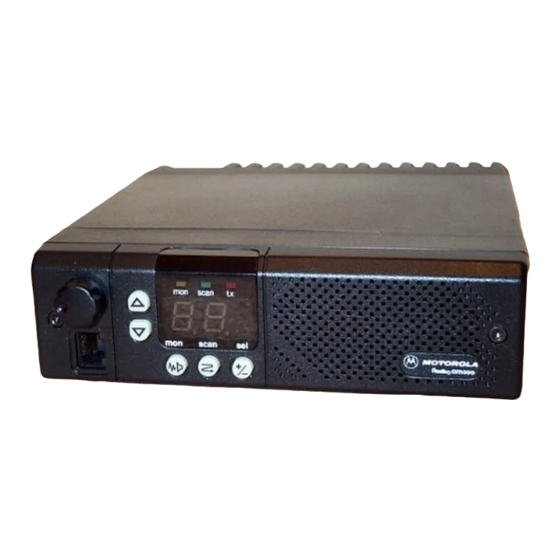
Motorola RADIUS GM300 Manuale di servizio - Pagina 23
Sfoglia online o scarica il pdf Manuale di servizio per Radio Motorola RADIUS GM300. Motorola RADIUS GM300 49. 16-channel, conventional fm radio
Anche per Motorola RADIUS GM300: Manuale di servizio (28 pagine), Manuale di istruzioni per l'uso (18 pagine), Manuale di istruzioni per l'uso (19 pagine), Manuale d'uso (37 pagine), Istruzioni per l'uso (2 pagine)

Disassembly/Re-assembly
Radio Disassembly and Assembly
HEATSINK
MOUNTING
SCREWS
Figure 1-4.
2.
After removing the RF shield, remove all RF
board mounting screws and take out the RF
board (Figure 1-5).
RF
SHIELD
Figure 1-5.
To Remove the Logic Circuit Board
1.
After the RF board has been removed, turn the
radio over and pry off the logic shield, again
being careful not to bend any one corner or
side.
2.
Remove all logic board mounting screws
(Figure 1-6).
3.
Remove the two Þlter board screws from the
front of the chassis (Figure 1-6). The logic and
Þlter boards can now be lifted out of the chas-
sis.
To Remove the PA Circuit Board
1.
Remove the power ampliÞer shield by care-
fully prying each corner and side until you
can slide the shield off easily (Figure 1-7).
2.
Remove the shield completely by guiding the
coaxial cables out.
1-2
6-PIN
CONNECTOR
RF BOARD
MOUNTING SCREWS
68 No.
LOGIC
BOARD
MOUNTING
SCREWS
Figure 1-6.
Figure 1-7.
3.
Unsolder the A+ power connector feed-thru
leads and the antenna connector lead
(Figure 1-9).
4.
UHF ONLY - Remove the stud mount transis-
tor mounting nut from the back of the heat-
sink (Figure 1-8).
5.
Remove two power device mounting screws
and
all
PA
(Figure 1-9), and then take out the PA board.
To Re-Assemble the Radio
Reverse the disassembly procedure and tighten all
screws to the torques speciÞed in Table 1-1.
Name of Manual
FILTER
BOARD
FILTER
BOARD
SCREWS
board
mounting
screws
March, 1997
