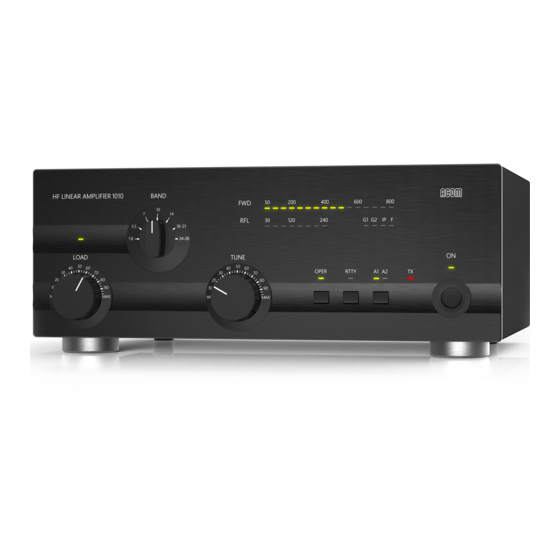
Acom 1010 Manuale operativo - Pagina 9
Sfoglia online o scarica il pdf Manuale operativo per Amplificatore Acom 1010. Acom 1010 20. External radio frequency power amplifier
Anche per Acom 1010: Documento schematico (14 pagine), Diagrammi schematici (15 pagine)

e) Preparation of the wall outlet for the amplifier.
If your amplifier is only fitted with one line (mains) fuse, it is suitable for the
European Community ONLY. Your dealer will check that your amplifier is
correctly fused before it is shipped to you, based upon your indicated location.
Customers should check with a qualified electrician if the amplifier is to be
used outside the country in which it was purchased.
Due to different line (mains) standards in different countries, the dealer will provide the correct Safety
Class I plug for your location. The ground lead of the power cable is colored yellow with two green
stripes. If you have any doubts about the correct way to connect these wires, consult your dealer.
Before connecting the amplifier to your line (mains) supply, be sure that the
line (mains) supply is correctly wired and is capable of providing the required
current, i.e., up to 5 A from 240 V and 10 A from 120 V. As discussed earlier,
it is very important that the ground lead is adequately sized and properly
connected.
The Power Switch on the front panel must be in the OFF position; only then should you insert the
amplifier's line (mains) plug into the appropriate wall outlet. At this time the amplifier remains switched
off.
3. POWER ON, CONTROLS AND INDICATORS
Do not turn the amplifier on for at least 2 hours after unpacking it and locating in its
operating location. Pay particular attention whenever the amplifier is moved from
a very cold place to a very warm one because unseen condensation may develop,
and this could result in damage to the high voltage circuits of the amplifier. Under
these circumstances, do not turn the amplifier on for at least 4 hours. A similar effect
could occur following rapid warming of the location, such as winter use of a powerful
electric heater.
To avoid damage that may not be covered by the amplifier warranty, carefully check
that the voltage for which the amplifier is set corresponds to your nominal line (mains)
voltage. See Section 2-2 and Table 2-1.
After following all instructions in Section 2, you may now turn ON the main power switch on the front
panel (Fig. 3-1). The green LED indicator above the switch will illuminate:
WARNING
WARNING
CAUTION
CAUTION
8
