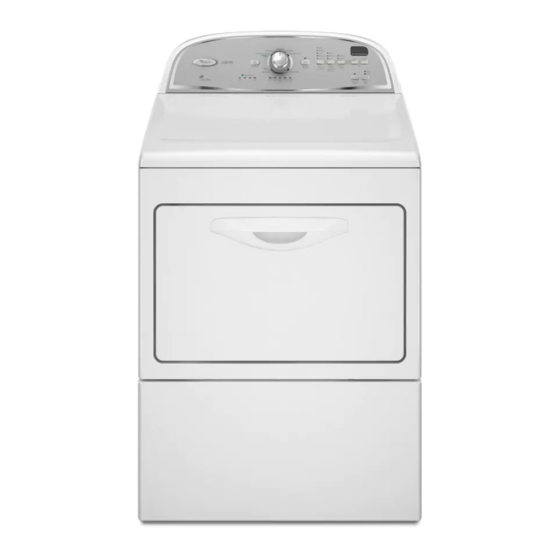
Whirlpool LER3622PQ Manuale d'uso e manutenzione - Pagina 13
Sfoglia online o scarica il pdf Manuale d'uso e manutenzione per Asciugatrice Whirlpool LER3622PQ. Whirlpool LER3622PQ 20. Cabrioâ® high efficiency electric dryer with accudryâ„¢ drying system ventilation specification
Anche per Whirlpool LER3622PQ: Dimensioni (1 pagine), Manuale d'uso e manutenzione (20 pagine), Manuale di istruzioni (8 pagine)

Install Leveling Legs
WARNING
Excessive Weight Hazard
Use two or more people to move and install dryer.
Failure to do so can result in back or other injury.
1. To protect the floor, use a large flat piece of cardboard from
the dryer carton. Place cardboard under the entire back edge
of the dryer.
2. Firmly grasp the body of the dryer (not the console panel).
Gently lay the dryer on the cardboard. See illustration.
3. Start to screw the legs into the holes by hand. Use a wrench
to finish turning the legs. They should stick out about
1" (2.5 cm).
4. Place a carton corner post from dryer packaging under each
of the 2 dryer back corners. Stand the dryer up. Slide the
dryer on the corner posts until it is close to its final location.
Leave enough room to connect the exhaust vent.
Connect Vent
1. Using a 4" (10.2 cm) clamp, connect vent to exhaust outlet in
dryer. If connecting to existing vent, make sure the vent is
clean. The dryer vent must fit over the dryer exhaust outlet
and inside the exhaust hood. Check that the vent is secured
to exhaust hood with a 4" (10.2 cm) clamp.
2. Move dryer into its final location. Do not crush or kink vent.
3. (On gas models) Check that there are no kinks in the flexible
gas line.
4. Once the exhaust vent connection is made, remove the
corner posts and cardboard.
Level Dryer
Check levelness of dryer. Check levelness first side to side, then
front to back.
If dryer is not level, prop the dryer up using a wood block. Use a
wrench to adjust the legs up or down and check again for
levelness.
Complete Installation
1. Check that all parts are now installed. If there is an extra part,
go back through the steps to see which step was skipped.
2. Check that you have all of your tools.
3. Dispose of/recycle all packaging materials.
4. Check the dryer's final location. Be sure the vent is not
crushed or kinked.
5. Check that the dryer is on a level surface.
6. For power supply cord installation, plug into an outlet. For
direct wire installation, turn on power.
7. Remove the blue protective film on the console and any tape
remaining on the dryer. Remove tape from the lint screen
(located on inside back wall of dryer).
8. Read "Dryer Use."
9. Wipe the dryer drum interior thoroughly with a damp cloth to
remove any dust.
10. To test the dryer, set the dryer on a full heat cycle (not an air
cycle) for 20 minutes and start the dryer.
If the dryer will not start, check the following:
Controls are set in a running or "On" position.
Push to Start button has been firmly pressed.
Dryer is plugged into an outlet and/or electrical supply
is on.
Household fuse is intact and tight, or circuit breaker has
not tripped.
Dryer door is closed.
11. When the dryer has been running for 5 minutes, open the
dryer door and feel for heat. If you feel heat, cancel cycle and
close the door.
If you do not feel heat, check the following:
Controls are set on a heated cycle, not an air cycle.
NOTE: You may notice a burning odor when dryer is first heated.
This odor is common when the heating element is first used. The
odor will go away.
13
