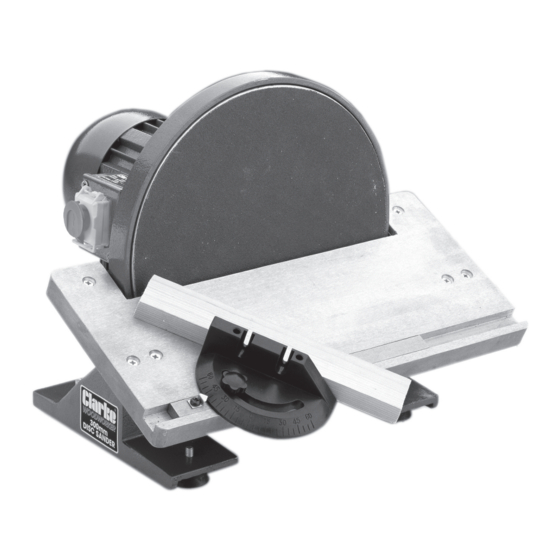
Clarke Woodworker CDS300 Manuale d'uso e manutenzione - Pagina 8
Sfoglia online o scarica il pdf Manuale d'uso e manutenzione per Sander Clarke Woodworker CDS300. Clarke Woodworker CDS300 12. 300mm disc sander

INSTALLATION & OPERATION
Remove the sander from the packing and ensure it is complete and has not
suffered any damage in transit. Should any damage be apparent, contact
your Clarke dealer immediately.
Your Sander is fully assembled, except for the sanding disc and the Mitre Gauge.
1. Install the machine on a solid base, one that will not move easily. Adjust
the rubber feet if necessary so that the machine is horizontal and
perfectly stable.
Alternatively, the rubber feet may be removed and the machine bolted
directly to a solid workbench as a permanent fixture. This is a more solid
arrangement and avoids the possibility of the machine moving when in use.
2. Remove the protective cover from the back of the sanding disc and gently
slide it between the work table and disc so that it is concentric about the
disc. Press firmly so that it adheres to the disc, turning the disc as you do so.
3. Wipe the table surface with a rag moistened with white spirit to remove the
tansportaion lacquer.
4. Adjust the work table to the desired angle, by slackening the two Table
Clamps, one either side, moving the table and tightening the clamps.
Note that the clamps are spring loaded. Turn the lever clockwise to clamp,
as far as possible, then pull the lever out against spring pressure which
allows the lever to be turned anticlockwise without unclamping. Allow the
lever to spring inwards again, then proceed to turn it clockwise once more.
Repeat the process until the table is securely clamped.....but DO NOT
overtighten, otherwise damage to the clamping mechanism will occur.
You will also note that there is a little slack between the table pivot screw
and Quadrant, beneath the table, When clamping, maintain a slight
inwards pressure on the table so that a gap of 1.5 - 2mm is achieved
between the table and disc.
5. To start the disc, press the GREEN START button marked 'I'. Allow the
disc to come to full speed before commencing work.
6. To stop, press the RED STOP button, and wait for the disc to stop
completely before removing any sawdust.
If the angle is critical, an angle gauge should be used between the table
and disc to ensure accuracy. For right angles, simply slide a square on the
table, up to the disc, and adjust accordingly. The angle should be correct
when slight pressure is placed on the table.
8
