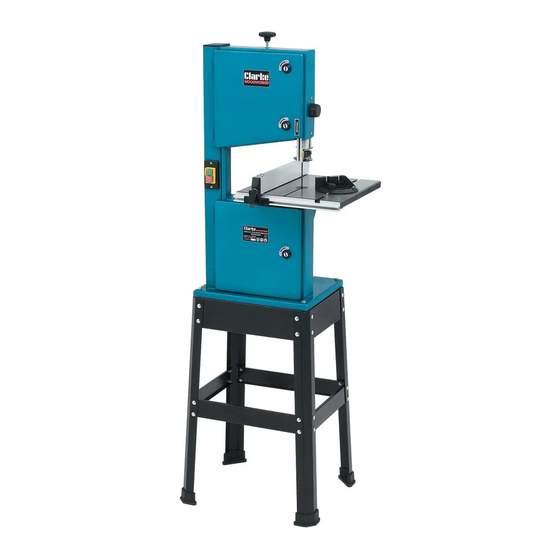
Clarke WOODWORKER CBS250 Manuale di istruzioni per l'uso e la manutenzione - Pagina 11
Sfoglia online o scarica il pdf Manuale di istruzioni per l'uso e la manutenzione per Sega Clarke WOODWORKER CBS250. Clarke WOODWORKER CBS250 13. 45 mm (10”) bandsaw & stand
Anche per Clarke WOODWORKER CBS250: Istruzioni per il funzionamento e la manutenzione (20 pagine)

Use both hands to feed the workpiece in to the blade. The work must be held flat on
the table at all times to prevent binding of the blade. Use a steady even pressure just
sufficient to keep the blade cutting.
Always use a rip fence or mitre guide where possible to eliminate any sideways slip of
the work. This is most important when the table is tilted to an angle.
Always plan your work ahead. The tradesmans rule is measure twice, cut once. It is
best to finish a cut in one continuous operation, but frequent backtracking may be
necessary.
Turn off the motor and allow the blade to come to a complete stop before backing the
workpiece away.
Remember that the blade removes material during the cut. This gap created by the
blade is called the kerf, and must be allowed for when cutting to exact sizes. Plan
your cut so that the kerf is the scrap side of the lines you wish to cut. If necessary, allow
a little more for finish sanding.
Rip Sawing
his term refers to the cutting of the timber with
T
the grain, rather than across the grain. You can
rip wood freehand to a previously drawn line,
but best results are obtained by using the rip
fence. If the table is set level, set the rip fence to
the left hand side of the blade (FIg.17), allowing
you to use your right hand to hold the work firmly
against the fence. The width of cut indicator on
the front of the work table shows the distance
between the blade and the edge of the timber.
When cutting a bevel rip, with the table tilted at any angle up to 45
to the right hand side of the blade (Fig. 18), if the
width of the workpiece allows it.
With the fence on the downhill side of the table, it
will help support the work against slip. The width of
c u t i n d i c a t o r s h o w s t h e d i s t a n c e b e t w e e n t h e
blade and the rip fence.
Cross Cutting
his term refers to cutting timber at right angles to
T
the grain. This type of cut can also be made
freehand, but the mitre guide is used to ensure
accurate results. The mitre guide can be adjusted
O
angle to produce mitre cuts, or with the
to a 45
table tilted as well, compound mitre cuts.
Make sure the work is held firmly against the table
and against the face of the mitre guide. Be careful
to keep your fingers away from the blade,
particularly at the end of the cut.
Fig. 17
O
, set the rip fence
Fig. 18
-12-
tracks in the wrong direction, turn the handwheel in opposite direction.
When tracking is achieved, lock the handwheel by turningthe lock clockwise.
Lower Blade Wheel
Under normal circumstances, the bottom blade wheel does
not need adjusting, it is factory set and should never alter.
If however the blade tracks off centre and all the previous
adjustments have been carried out correctly, proceed to
adjust as follows.
The bottom blade wheel is adjustable in all directions, so
extreme caution should be used when making any adjustments,
if at all. It should only ever be necessary to make any changes
on the two vertical adjusting screws
A
To carry out this adjustment, proceed as follows.
Loosen both locknuts on adjusting screws
Slowly rotate the upper
blade wheel in a clockwise
direction, observe the
sawblade whilst doing so.
Loosen the top screw
A,
approx one flat. a n d
tighten the bottom screw
A.
If the sawblade tracks
in the desired direction,
continue with the adjustment,
if not, loosen the bottom screw
and tighten the top screw.
Continue to make further adjustments in
the same way until the blade runs in the centre of both blade wheels, it may be
necessary to readjust the top wheel.
NOTE: when making this adjustment, turn the adjusting screws one flat at a time and
observe the blade movement, once the blade runs in the centre of the blade wheels,
tighten all locknuts.
B
lade Guide Adjustment
Remove the table.
Loosen all guides, and back them off clear of the blade.
Rotate the upper blade wheel and observe the blade again, if the blade now runs
in the centre of the blade wheels, continue to adjust the blade guides. If not adjust
the tracking.
Assuming the blade is running in the centre of both blade wheels, continue to adjust
the blade guides as follows.
Upper Blade Guides
Loosen grub screw A and move rear guide up to the back of the sawblade, until
A
Fig. 10
see Fig. 10.
A.
Sawblade
Machine Frame
Loosen
Shaft
A
Tighten
Lower Blade Wheel
Fig. 11
-9-
Tighten
Shaft
Loosen
