Clarke CHT637 Istruzioni per il funzionamento e la manutenzione - Pagina 10
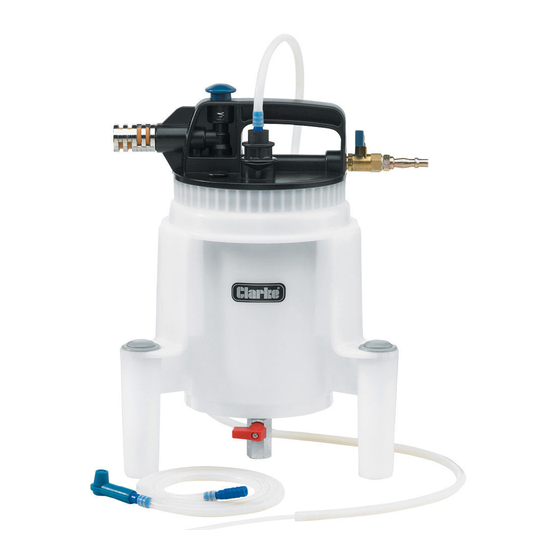
Sfoglia online o scarica il pdf Istruzioni per il funzionamento e la manutenzione per Strumenti Clarke CHT637. Clarke CHT637 16. Air operated clutch & brake bleeding kit

7. Turn the air valve (I) on, if no air
flows through the unit then press
the Push Button (B) to create the
vacuum.
Allow a few seconds for vacuum
to build in the bleeder tank
before suction occurs.
8. Using a wrench, loosen/open
the bleed screw slightly, until you
can see fluid draining through
the Bleed Tube and into the Tank
(D).
Note: During the bleeding process,
as hydraulic fluid is being drawn
through the bleed screw, air may
also be sucked into the bleed tube
from around the bleed screw
threads. This can give the
impression that air is bleeding from
the lines, however it is normal and
does not affect operation. To
prevent or reduce this kind of air
leak, coat the bleed screw threads
with silicon grease before bleeding.
9. Keep the bleed screw open until new fluid is visibly flowing through the
Bleed Tube (F) (typically 20 to 30 seconds).
10. Close the bleed screw firmly, without over tightening, prior to removing
the Bleed Tube from the vehicle and shutting off the unit.
11.Close the refill valve and remove the refill unit.
Note: It is important to ensure that the Bleed Tube connector remains
connected to the bleed screw, and the unit is still holding a vacuum while the
bleed screw is closed. This prevents air from being sucked back into the
brake or clutch slave cylinder from around the bleed screw threads before
the bleed screw is tightened and sealed.
Note: If the automatic refilling bottle is not used, be sure to periodically check
the level and top up the fluid in the master cylinder.
Parts & Service: 020 8988 7400/E-mail:[email protected] or [email protected]
B
F
10
I
D
