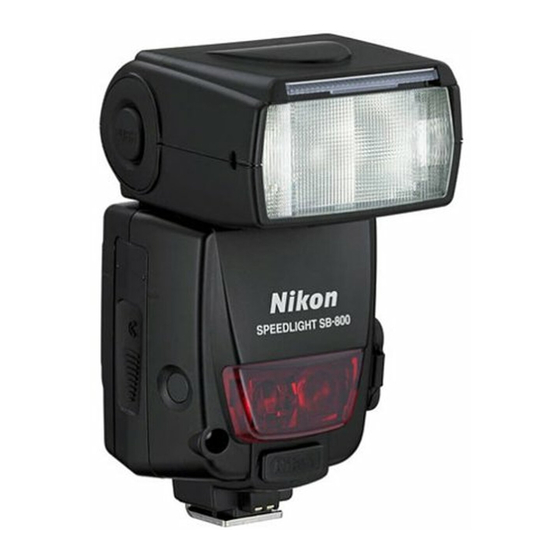
Nikon SB-800 Manuale di avvio rapido
Sfoglia online o scarica il pdf Manuale di avvio rapido per Camera Accessories Nikon SB-800. Nikon SB-800 3. Speedlight programming & using two or more in wireless mode
Anche per Nikon SB-800: Opuscolo del prodotto (2 pagine), Manuale di istruzioni (25 pagine), Scheda tecnica (2 pagine)

NIKON SB-800 SPEEDLIGHT - PROGRAMMING & USING
TWO OR MORE IN WIRELESS MODE
INTRODUCTION:
The SB800 is a remarkable flash unit. It contains features and capabilities that I have never
seen before. Unfortunately, the manual leaves much to be desired. And, learning how to set
up the complex capabilities of the SB800 can be very frustrating. I know it was for me, and
I consider myself very capable in areas such as this. For that reason I undertook
documenting this material, originally, to keep everything clearly in focus for my use and
referral, should the steps become "cloudy", in the future.
The material below was assembled after reading a very nice online PDF by Dave Black, and
also doing very extensive reading & studying the manual, and "playing" with the units. I have
edited, reformatted, and included much additional material, but I've not included any images.
I feel the added material is crucial to better understanding the process. It defines how to set
up the Nikon D70 and two or more SB800 flash units, using the wireless control capabilities
of the D70 and the SB800, with the on-camera SB800 as a master (controller unit).I hope that
this document will help others to navigate the often confusing route and confusing Nikon
manual for this capability.
IMPORTANT
Make sure that you understand the sections below, "general tips", "more
on using the SEL button", and the "quick reset" before proceeding. These are crucial to
working with the SB800, & configuring custom settings, which are needed to work in
wireless mode
GENERAL TIPS RE NAVIGATING AROUND THE SB800 MENUS ET AL.
In several activities, when SEL is held down for several seconds, a "menu" of icons
displays. Only 4 of the 12 available icons are visible at one time on the LCD. There are 6
rows, & 2 columns of icons. The +/- keys scroll up/down the rows. The 2 pine tree buttons
switch L/R between the 2 columns.
MORE ON USING THE SEL BUTTON
The usual protocol for using the SEL button when customizing is the get to the item you
wish to customize, and then press the SEL button. This will make that item active (it
becomes highlighted) and available for changing, usually via the +/- buttons. Once it has
been changed, hitting the SEL button will now accept that new value, and will usually
sequence through to the next item. In some windows, such as the channel number and
letter, and the light output increase or decrease, items may have already be highlighted
after using the SEL button and can be customized with +/-. After customizing, pressing the
SEL button will accept the value shown and move to the next available item.
When an item displays the blackened selection area, it can be customized directly, and the
SEL button will then accept the displayed value.
[email protected] . . . . . . . . . . . . . . . . . . Page 1 of 3 . . . . . . . . . . . . . . . . . . Rev 2 - February 9, 2005
