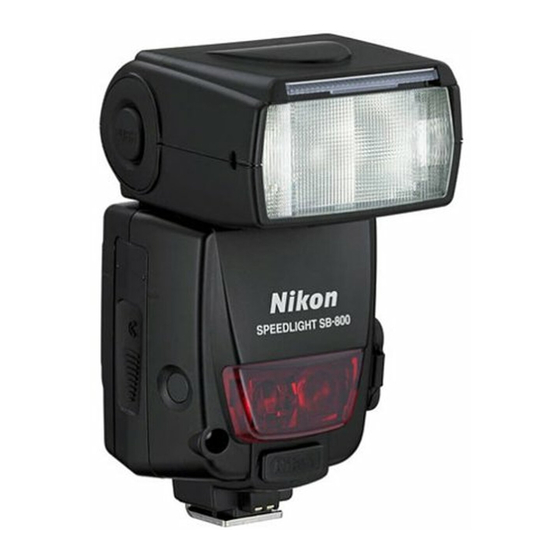
Nikon SB-800 Manuale di avvio rapido - Pagina 2
Sfoglia online o scarica il pdf Manuale di avvio rapido per Camera Accessories Nikon SB-800. Nikon SB-800 3. Speedlight programming & using two or more in wireless mode
Anche per Nikon SB-800: Opuscolo del prodotto (2 pagine), Manuale di istruzioni (25 pagine), Scheda tecnica (2 pagine)

QUICK RESET OF THE SB800
Hold down both the MODE and ON/OFF buttons for 2-3 seconds to reset the SB800 to all
the factory default settings. This will not reset the choice of feet or meters for distance.
SETTING UP THE MASTER
1. Mount an SB-800 to the hotshoe of the camera, and turn on the camera.
2. Turn on the SB-800 & press the MODE button as many times as needed, until
the unit displays TTL BL
3. Press and HOLD DOWN the SEL button for 2-3 seconds and the display
changes to 4
lines. This box is in the upper right of the 6 row/2 column listing. If the box with
the two flash units is not showing, scroll to that box using the + button to move
up, and the single pine tree button to get to the upper right box.
4. Press and release the SEL button and it highlights (in black) the word OFF in
the list. You are now active in that list and ready to choose this SB-800's
function by pressing the + or - button to scroll up or down.
5. Press + or - until MASTER is highlighted in black. Now Press and HOLD
DOWN the SEL button and the display changes to a list M TTL, A TTL, B—,C-
-- on the left side of the screen. These are the default unit settings. Depending
upon what you have been doing, they may be slightly different.
6. Press and release the SEL button and the M TTL should be highlighted (in
black). If not, press the SEL as many times as needed to get it highlighted. This
now sets the MASTER SB-800 flash output level. Press the + or - to power
up/down the flash output in 1/3 stop increments. When the desired level is
chosen, press SEL again, and the next channel will be highlighted. Set its output
accordingly. Then hit SEL to accept that. Repeat for all groups being used.
Navigate around this window using the SEL button to select Channel 1, 2, 3, or
4, and Groups A, B, or C for customization. Remember, you must set both the
Master and all remote units to the same channel.
Additional pushes of the SEL button will cycle through the various settings that
can be customized.
7. After a group (A, B, or C) is selected, use the MODE key to select the desired
operation for that group. If TTL is selected, then that group will be told by the
MASTER when to quench. In Manual mode, you will see "M1/1" displayed,
which means that the full output of the flash will be used. Using the +/- buttons,
this can be adjusted from full to 1/128 of the full power. There are various
modes that can be selected. Scroll around to check them out.
[email protected] . . . . . . . . . . . . . . . . . . Page 2 of 3 . . . . . . . . . . . . . . . . . . Rev 2 - February 9, 2005
boxes. Scroll to the box displaying 2 flash units, and 2 "squiggly"
