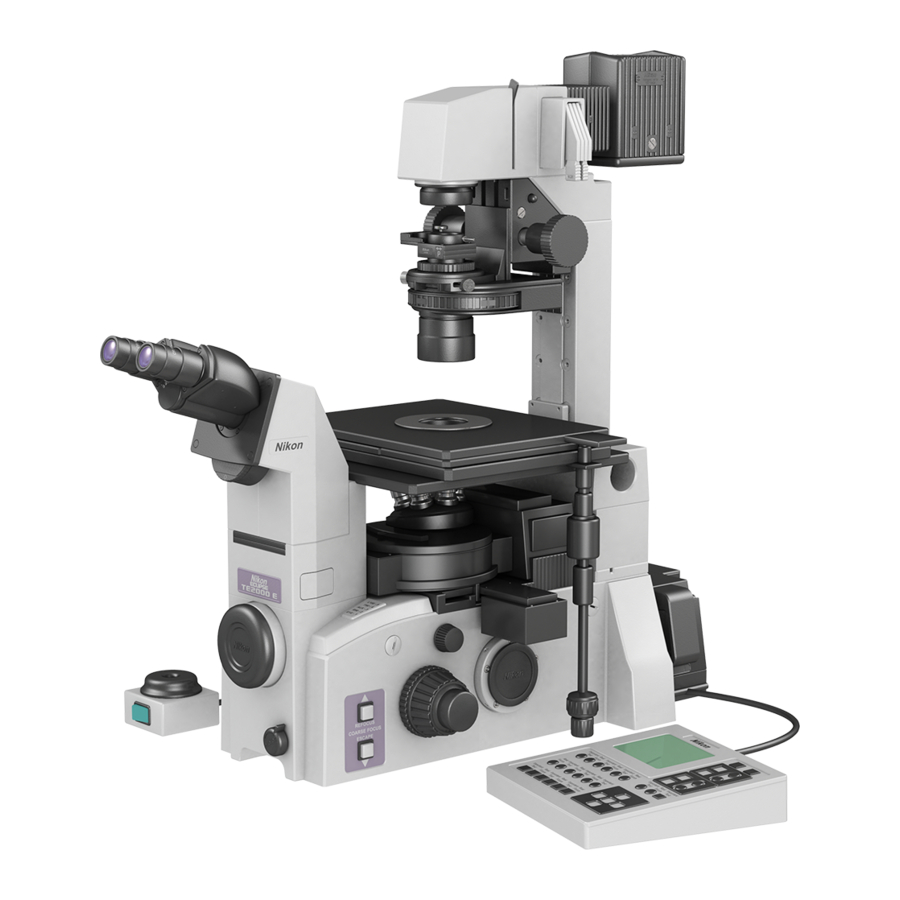
Nikon Elcipse TE2000 Manuale di istruzioni
Sfoglia online o scarica il pdf Manuale di istruzioni per Microscope Nikon Elcipse TE2000. Nikon Elcipse TE2000 7. Fluorescent microscope
Anche per Nikon Elcipse TE2000: Manuale (12 pagine)

Wellcome Trust Centre for Human Genetics
Molecular Cytogenetics and Microscopy Core
Using the Nikon TE2000 Inverted Microscope
Colour
image acquisition using NIS-Elements
[Basic Research] software and the Nikon
Digital Sight DS-5M
Handle the microscope gently, taking care to avoid sharp impacts.
1)
TO SWITCH-ON THE MICROSCOPE AND LOOK AT YOUR SAMPLE:
Bright-field Microscopy Imaging [with the Colour Camera]:
-
Turn on the transmitted light by turning on the switch on the Nikon power
supply box on the bench to the left side of the microscope.
Press "lamp on/off" button at the base of the microscope on the left.
-
-
Adjust the light intensity by rotating the control dial situated on the left side of
the microscope, below the on/off switch.
For bright-field [non-fluorescence] transmission imaging: Check that the "D"
-
(Diffuser) and "HA" (Heat Absorber) filters at the top left of the microscope are
pushed in. Select the optional neutral density ND filters as necessary to dim the
light intensity [top right]: ND16 and ND2 – push both in for maximum light
attenuation, normally the best setting.
The "eyepiece turret" dial should be set to O (open), when set to C it is closed.
-
-
The "port/optical path" dial on the right side of the base should be set to port 1.
All the light now goes to the microscope eyepieces and none to the cameras.
-
The "reticule in/out" lever at front of the base to the right should be turned
clockwise and set to a 2 o'clock position. This lever is under the colour camera.
Colour
INSTRUCTIONS
PLEASE HANDLE CAREFULLY!
Camera
1
