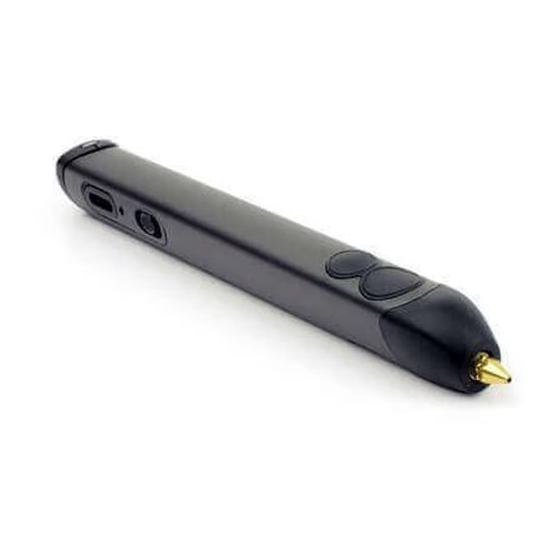
3Doodler 2.0 Manuale d'uso - Pagina 7
Sfoglia online o scarica il pdf Manuale d'uso per Accessories 3Doodler 2.0. 3Doodler 2.0 10.
Anche per 3Doodler 2.0: Manuale di avvio rapido (2 pagine), Manuale (4 pagine)

3Doodler is set to continuous flow,
firmly press down on the Maintenance
Cover
to slightly speed up the
7
extrusion of your plastic/filament.
NOTE: Our 3Doodler is a
sturdy and awesome tool, but
like any mechanical device it
needs a break now and then.
We suggest giving it (and
yourself) some downtime after
2 hours of continuous use (just
a 30 minute break or so).
TROUBLESHOOTING AND CLEANING THE PEN
If the extrusion of plastic/filament has slowed down, stopped, or if
you are having trouble inserting plastic into the pen, please give the
plastic/filament a gentle clockwise twist while pushing it down the
shaft of the 3Doodler.
If the nozzle is loose, please gently tighten it, stopping when you
first feel resistance, and being sure to do so while the pen is hot.
Try to extrude again.WARNING: DO NOT force the nozzle or
overtighten it, as you could irreparably damage your 3Doodler.
If this does not work, we suggest cleaning the 3Doodler. Please
follow the steps below:
1. Ensure the LED light is BLUE or GREEN before starting
this process (indicating that the pen is hot).
2. Start by using the nozzle removal tool
and unscrew the nozzle anti-clockwise
14
while the pen is hot. Please be careful not
to touch the nozzle!
3. Once you have removed the nozzle,
hold down either the FAST (3) and SLOW
(4) speed buttons. While holding down
3
either button, insert the Cleaning Tool
through the back of the pen and gently
push any any excess plastic/filament out
of the front of the pen. In order to feed the Cleaning Tool past the
gear system you will need to gently twist it counter clockwise until
you feel it move past the gears.
2
8
7
clockwise twist
Turn nozzle
removal tool
anti-clockwise
14
