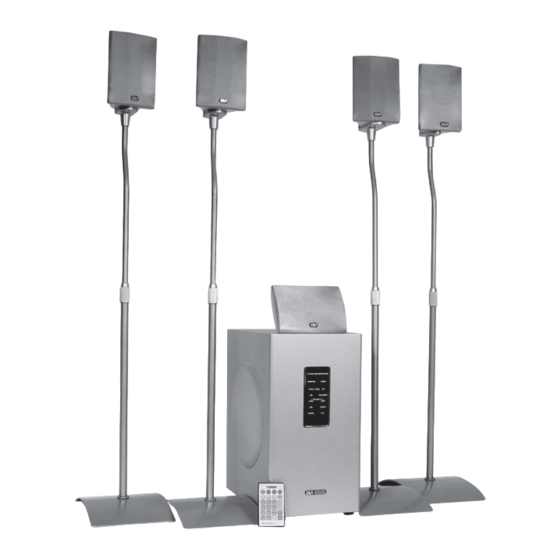
ACOUSTIC SOLUTIONS DS 855 Manuale di istruzioni - Pagina 8
Sfoglia online o scarica il pdf Manuale di istruzioni per Sistema Home Theatre ACOUSTIC SOLUTIONS DS 855. ACOUSTIC SOLUTIONS DS 855 13.

LOUDSPEAKER CONNECTIONS
NOTE: Please ensure that the DS 855 is switched off before connecting any
speaker leads
Ensure the correct polarity (+) and (-) of all speaker leads. Check to make
sure there are no wires touching on the speaker terminals, and that all wires
are firmly clamped into the terminals (10, page 3).
FRONT L
SURR R
SURR L
CENTRE
FRONT L
SURR L
FRONT R
CENTRE
FRONT R
SPEAKERS OUT
SURR R
The speaker terminals on the rear of the DS 855 and rear of the speakers
have corresponding colour coded markings to ease identification.
NOTE: When inserting speaker cables into any of the terminals, the black
wire should be fitted into the - (negative) terminal, The grey wire into the +
(positive) terminal.
Please see the supplied Fast Setup sheet for hints and tips on connecting
and positioning of your speakers.
Now that you have connected your speakers to their correct terminals, you
can use the test function to ensure that all speaker are connected.
Selecting the TEST button on the remote control (4, page 4) activates the
test function. The standby/test LED on the front panel (1, page 3) will light
to indicate that the test mode is ON. The test function outputs a white noise
signal to each of the satellite speakers and subwoofer in turn in the following
order:
FRONT LEFT - CENTRE - FRONT RIGHT - REAR RIGHT - REAR LEFT - SUBWOOFER
To switch off the test function, press the TEST button on the remote control
again. The standby/test LED will now switch off.
If you do not hear a test noise from some of your speakers, switch off the
system and check the connections.
7
