ClearOne Ceiling Microphone Array Dante Manuale di avvio rapido - Pagina 6
Sfoglia online o scarica il pdf Manuale di avvio rapido per Sistema microfonico ClearOne Ceiling Microphone Array Dante. ClearOne Ceiling Microphone Array Dante 7.
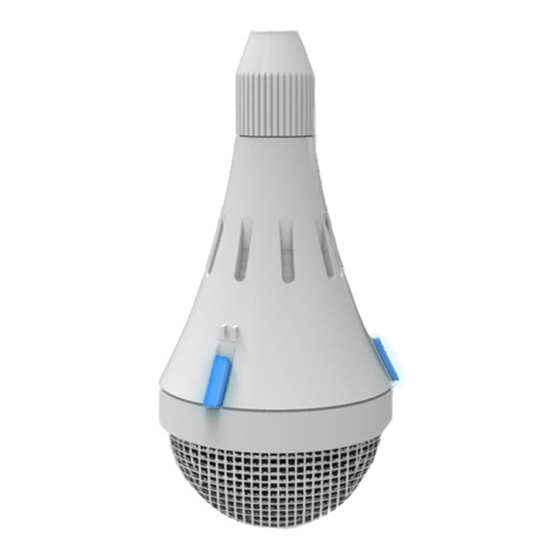
CEILING MIC ARRAY DANTE
11. Connect the CMA cable to the Junction Box.
12. Run the CAT5e/6 cable from the Interface Box location to the Network
Switch. You must supply your own CAT5e/6 cable.
13. Put the tile(s) back into place.
14. Connect Network Switch to the DSP mixer with a CAT5e/6 cable.
Dante Interface Box
CAT6 Cable,
Max 33 Feet
Ceiling Tile
CAT6 Cable,
Max 330 Feet
(100 meters)
* PoE Power,
Audio, Control
LAN
(Ethernet
Switch)
CAT6 Cable,
Max 330 Feet
(100 meters)
12 Channels
Audio and
Control
through Dante
DSP Mixer, with Dante
4
CAT6 Cable,
Max 33 Feet
(10 meters)
(10 meters)
Custom
Max 7 Feet
Cable
(2 meters)
Mic Array 1
CAT6 Cable,
Max 33 Feet
(10 meters)
Mic Array 3
Mic Array 2
Sample Scenario:
Four Dante Mic Arrays connecting to a CONVERGE Pro 2 mixer.
Dante Interface unit provides Primary and Secondary Dante ports for Dante network
redundancy.
* If the Ethernet Switch is not PoE enabled, then use external PoE Power Injector.
Digital
CAT6 Cable,
Junction
Max 33 Feet
Box
(10 meters)
Custom
Max 7 Feet
Cable
(2 meters)
Mic Array 4