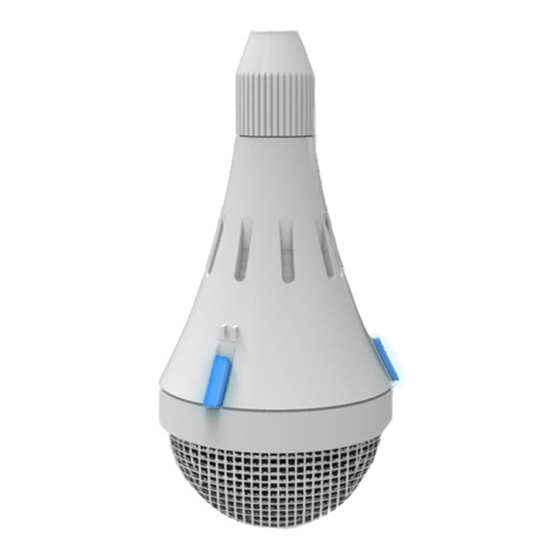
ClearOne Ceiling Microphone Array Dante Посібник із швидкого старту - Сторінка 6
Переглянути онлайн або завантажити pdf Посібник із швидкого старту для Мікрофонна система ClearOne Ceiling Microphone Array Dante. ClearOne Ceiling Microphone Array Dante 7 сторінок.

CEILING MIC ARRAY DANTE
11. Connect the CMA cable to the Junction Box.
12. Run the CAT5e/6 cable from the Interface Box location to the Network
Switch. You must supply your own CAT5e/6 cable.
13. Put the tile(s) back into place.
14. Connect Network Switch to the DSP mixer with a CAT5e/6 cable.
Dante Interface Box
CAT6 Cable,
Max 33 Feet
Ceiling Tile
CAT6 Cable,
Max 330 Feet
(100 meters)
* PoE Power,
Audio, Control
LAN
(Ethernet
Switch)
CAT6 Cable,
Max 330 Feet
(100 meters)
12 Channels
Audio and
Control
through Dante
DSP Mixer, with Dante
4
CAT6 Cable,
Max 33 Feet
(10 meters)
(10 meters)
Custom
Max 7 Feet
Cable
(2 meters)
Mic Array 1
CAT6 Cable,
Max 33 Feet
(10 meters)
Mic Array 3
Mic Array 2
Sample Scenario:
Four Dante Mic Arrays connecting to a CONVERGE Pro 2 mixer.
Dante Interface unit provides Primary and Secondary Dante ports for Dante network
redundancy.
* If the Ethernet Switch is not PoE enabled, then use external PoE Power Injector.
Digital
CAT6 Cable,
Junction
Max 33 Feet
Box
(10 meters)
Custom
Max 7 Feet
Cable
(2 meters)
Mic Array 4
