DOD FX7 Manuale d'uso - Pagina 8
Sfoglia online o scarica il pdf Manuale d'uso per Apparecchiature di registrazione DOD FX7. DOD FX7 18. Dod guitar effects processor/preamp owner's manual fx7

Rear Panel Connections
6
signal processing
1
2
INPUT
JAM-A-LONG
HEADPHONE OUT
The FX7's rear panel is even simpler than the front, and that means
faster hookup times for you. The rear panel has:
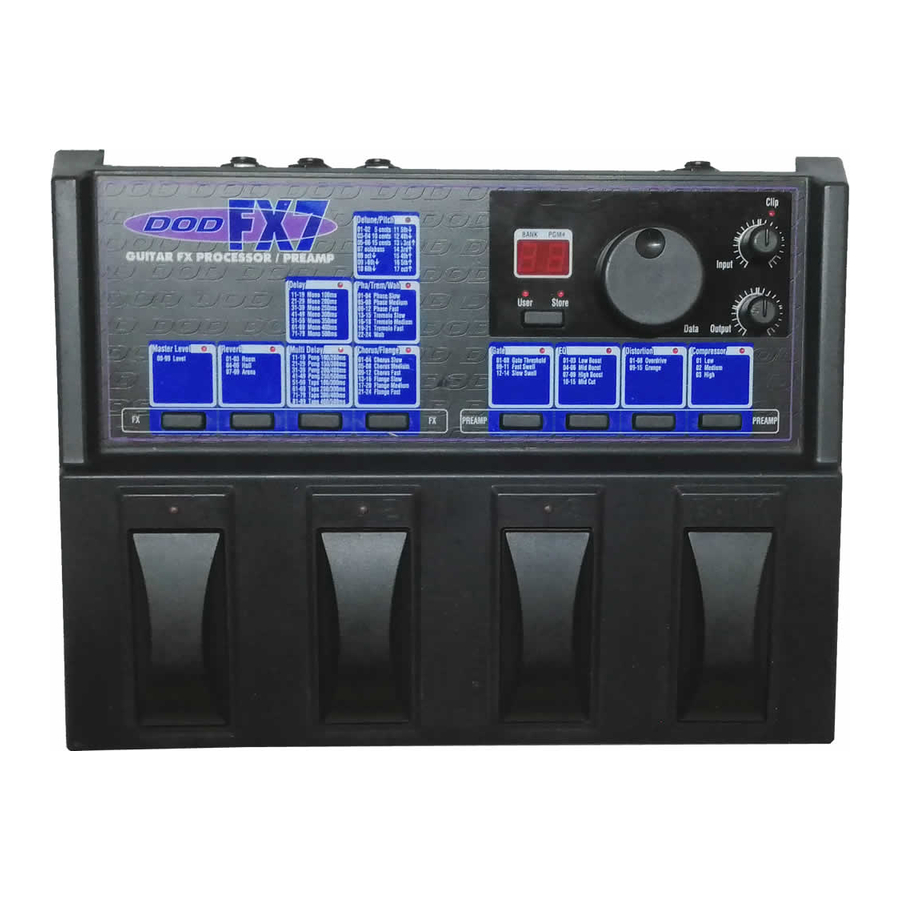
6) DISPLAY - The LED display in Program mode, shows which
Bank and Program is currently selected. In Edit mode, it shows
the number and/or status of the selected effect.
7) DATA WHEEL - In Program mode, use the Data wheel to scroll
through Programs. In Edit mode, use it to change the setting
of effect groups.
8) CLIP LED - The red Clip LED lights when clipping occurs at the
input of the FX7. To eliminate clipping, reduce the setting of
the Input Level control or the Master Level parameter.
9) OUTPUT KNOB - Controls the overall output level of both the
Left and Right outputs and the Headphone output.
10) INPUT KNOB - Controls the level of the signal at the FX7's
input stage.
3
4
USA
Manufactured in the
by
A Harman International Company
LEFT/MONO OUT
1) INSTRUMENT INPUT - Plug your instrument in here.
2) JAM-A-LONG™ INPUT - This stereo mini jack lets you connect
your tape deck or CD player headphone output to the FX7 for
personal jam sessions. The Jam-A-Long™ signal is mixed with
your instrument signal at both the main and headphone out-
puts so you can play along with your favorite tunes.
3) HEADPHONE OUTPUT - This stereo mini phone plug is for
your headphones. The overall headphone level is controlled by
the Output level knob.
4) LEFT / MONO OUT - For stereo applications, this is the Left
main output. Use this jack for mono applications.
5) RIGHT OUT - For stereo applications, this is the Right main
output. For mono applications, leave this jack unconnected.
6) VOLUME/WAH CONTROLLER INPUT - This 1/4" connector is
used to connect most volume pedals or 0/+5v controller pedal
to the FX7 for real-time control of wah and volume functions.
7) AC POWER INPUT - Connect the supplied AC power adapter
to this jack. Use only the adapter supplied with the FX7. Use
of any other adapter may damage the unit.
8) POWER CORD STRAIN RELIEF - This clip prevents the AC
power cord from being accidentally pulled out.
5
6
7
8
POWER INPUT
RIGHT OUT
VOLUME/WAH
9V
500 mA
FX7 owner's manual
