- ページ 4
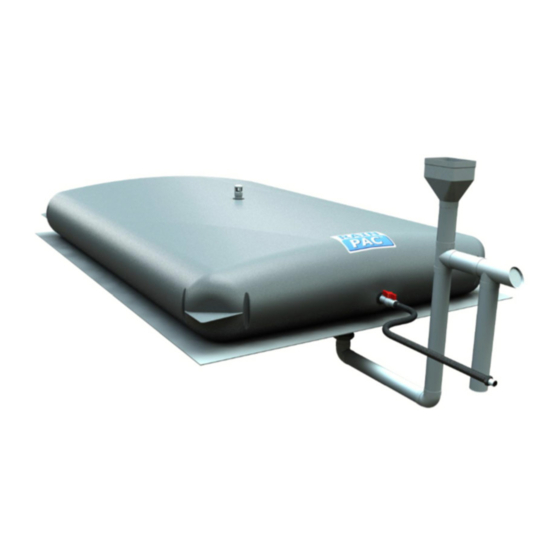
ウォーターヒーター FloatPac RainPacのPDF インストレーション・マニュアルをオンラインで閲覧またはダウンロードできます。FloatPac RainPac 16 ページ。 Under house and decking flexible rainwater harvesting bladder tanks

You will require the following tools to complete installation of the bladder/s:
1. Tape measure;
2. Spirit level;
3. Shovel or spade for levelling and creating trenches for inlet and outlets;
4. Saws for cutting and additional PVC piping that will be required;
5. Power drill with ratchet screw driver for tightening hose clamps etc.; and,
6. Wrenches to tighten threaded fittings 100mm & 32mm in size.
MAINTENANCE:
Regularly check the site where the bladder is installed to ensure nothing is rubbing against it, and that there is nothing sharp around the bladders. The
filters supplied need to be maintained – see the manufactures instructions for further information. We also recommend that you use the stored water as
much as possible – this will help keep the water supply fresh and help to increase the life of the material, thus increasing the lifespan of the bladder. Any
repairs etc. need to be reported to FloatPac within seven days of any damage being noticed. Small puncture holes can be easily repaired onsite, although
any larger damage will need to be assessed by FloatPac at our manufacturing plant in Springvale, Victoria.
P a g e
4 | 15
