- ページ 6
ボート Advanced Elements AE2042のPDF 取扱説明書をオンラインで閲覧またはダウンロードできます。Advanced Elements AE2042 13 ページ。 Accessory frame system

After Cutting the openings for the Mounting Grommets, position each
Mounting Grommet so that it is popping up through the newly cut
openings from the underside of the deck of the kayak. SEE IMAGE 3.
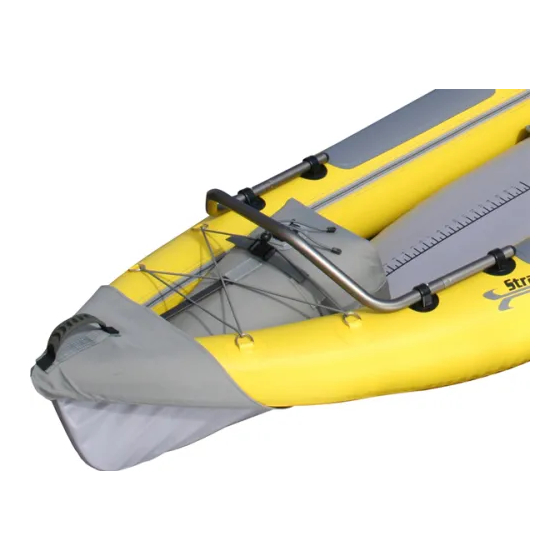
Install the Accessory Frame by inserting the Fame Body and the Detachable
Arms through the grommets and connecting all parts. This will ensure
proper placement before gluing the Mounting Grommets in place.
Gluing the Mounting Grommets:
After ensuring proper fit and alignment of the Mounting Grommets,
remove the Accessory Frame, set it aside, and pull all of the grommets
out of their newly cut holes.
1. Place your four sheets of cardboard on the inside of your kayak deck
and position them under each of the newly cut rectangular grommet
holes.
2. Starting with ONE Mounting Grommet at a time: In a well-ventilated
area, apply enough glue to the top side of the Mounting Grommet disk
to spread around so that the glue is evenly applied on the disk.
3. Position the Mounting Grommet so that it is popping up through the
newly cut hole in the deck of your kayak, SEE IMAGE 3. Make sure
you have your cardboard in place. Place your hand underneath the
sheet of cardboard to ensure that it is in contact with the bottom of
the grommet and apply pressure to flatten out the grommet disk
while making sure that the disk is in full contact with the deck material
of the kayak.
4. Once you have good contact between the deck material of the kayak
and the Mounting Grommet, remove your hand from under the
cardboard and proceed to apply duct tape around the perimeter of
the grommet hole on the outside of the kayak. Apply the duct tape
so that it flattens out the material around the base of the grommet
meanwhile ensuring good contact between the material and the
grommet disk. SEE IMAGE 4.
Image 3
Continued on Next Page
Accessory Frame System Instruction Manual
Image 4
5
