- ページ 2
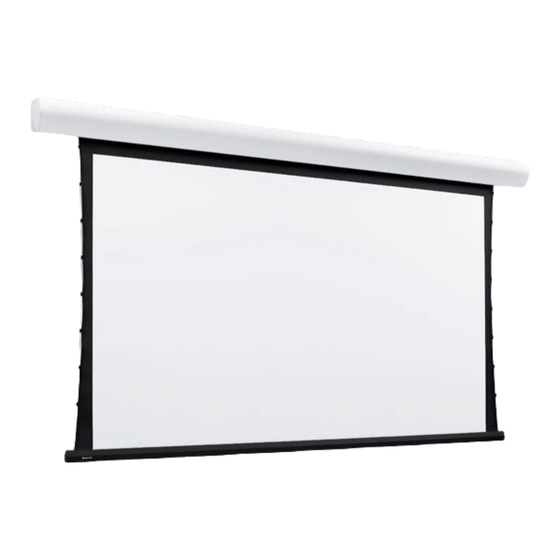
投影スクリーン Draper EnvoyのPDF 取付・取扱説明書をオンラインで閲覧またはダウンロードできます。Draper Envoy 3 ページ。 Electric projection screen
Draper Envoy にも: 取付・取扱説明書 (3 ページ), 取付・取扱説明書 (3 ページ), 取付・取扱説明書 (2 ページ), 取付・取扱説明書 (2 ページ), 取付・取扱説明書 (2 ページ), 取付・取扱説明書 (3 ページ)

220V Envoy by Draper
198 mm
192 mm
3 mm
192
mm
Standard
Construction
Limit Adjustments (Built-in Low Voltage Motors)
Please Note: Screen limits are factory set for optimum performance
of the screen. A procedure is outlined below for minor tweaks, but
any adjustment of these limits may negatively affect the flatness of
the screen surface and could also void the warranty. Please check
with Draper prior to resetting screen limits.
CAUTION: Always be prepared to shut screen off manually when
new adjustment is being tested. Screen may be severely damaged if
viewing surface is allowed to run too far up or too far down.
1 Connect the ILT switch to the motor via the terminal blocks, or via the
modular port using four conductor modular cable. When using modu-
lar cable, the cable connectors MUST NOT be crimped in reverse, as
with standard telephone cable. (For a Dry Contacts Wiring diagram,
see page 3.)
2 Set the slide switch to the lower position. Press and hold the DOWN
button on the switch to move the viewing surface to the desired lower
limit. If the screen moves in the opposite direction, release the DOWN
button and press and hold down the STOP button for four seconds.
This will reverse the operation of the UP and DOWN switches.
3 Move slider switch into center position. Wait a couple of seconds.
Please Note: If you move the slider switch from down to up in one
motion it sets the two limits in the same position.
4 Set the slide switch to the higher position. Move the viewing surface to
the desired upper limit by pressing and holding the UP button on the
wall switch.
5 Return the slide switch to the center position to return to normal
operation.
6 To set the viewing surface to an alternate format position, move the
viewing surface to the desired position and press the STOP button.
Press and hold STOP button for at least 3 seconds to record position.
Please Note: Pressing and releasing the UP button on the switch will
move the screen to its upper limit. Pressing and releasing the DOWN
button will move the screen to its lower limit.
While the motor is in motion, pressing the STOP button for less than
two seconds will stop the viewing surface at its present position.
Once the motor is stopped, pressing the STOP button will move the
viewing surface to its alternate format position.
Pressing and holding the STOP button, when the motor is at rest or
in motion, for at least three seconds will record a new alternate format
position.
U
D
C
p
o
o
w
m
n
m
o
n
P
O
T
S
Slide
Switch
Back View
FUNCTION
POSITION
DOWN
Set LOWER limit
Case Dimensions and Wiring Diagrams
Incl. mtg.
brackets
Support rods
103
by others
mm
57
Mounting
brackets
mm
Surrounding
ceiling
Offset
Construction
U
+
D
C
5V
p
o
o
DC
w
m
n
m
o
n
P
O
T
S
To Motor
with
Built-In
+
Slide
5V
Low Voltage
Switch
DC
Back View
FUNCTION
POSITION
DOWN
Set LOWER limit
Set UPPER limit
UP
Normal Operation
CENTER
To Motor
with
Built-In
Low Voltage
www.draperinc.com
51
mm
16
mm
Viewing
32
191
mm
mm
surface
Conduit connection
51mm up on this end
Please Note: Do not wire motors in parallel.
Single Station Control
CE Approved
Junction box at
left end of screen
Internal Screen Wiring
Blue-220v (Common)
Brown-220v (Down)
Black-220v (Up)
Green/Yellow (Motor Ground)
Control
switch
Dashed wiring
by installer
Wiring Diagrams—220V Motor and Quiet Motor
with Built-in Low Voltage Controller
Single Station Control
CE Approved
Junction box at
To Motor
left end of screen
with
Built-In
Internal Screen Wiring
Low Voltage
Blue-220v (Common)
Brown-220v (Down)
Black-220v (Up)
Green (Motor Ground)
Data Cable
To Motor
with
Built-In
Low Voltage
220v,
50 Hz.
Dashed wiring
Wall Switch,
by installer
RF or IR
Receiver,
or integrated
control system
(765) 987-7999
Fabric Width + 381 mm
Ceiling
closure door
Wiring Diagrams
Multiple Station Control
Junction box at
left end of screen
Red
Red
Red
Black
220v,
50 Hz.
220v, 50 Hz.
Multiple Station Control
Junction box at
left end of screen
Data
Cables
220v, 50 Hz.
Wall Switches,
RF or IR
Receivers,
or integrated
control systems
Page 2 of 3
51
mm
192
mm
83 mm
Ceiling grid and
tile (by others)
Not CE Approved
Internal Screen Wiring
Blue-220v (Common)
Brown-220v (Down)
Black-220v (Up)
Green/Yellow (Motor Ground)
Cap off with wire
nut & tape
Blue
Black
Blue
Black
Blue
Dashed wiring
by installer
Not CE Approved
Internal Screen Wiring
Blue-220v (Common)
Brown-220v (Down)
Black-220v (Up)
Green (Motor Ground)
