- ページ 11
電動工具 Draper 83611のPDF 取扱説明書をオンラインで閲覧またはダウンロードできます。Draper 83611 20 ページ。 Biscuit jointer
Draper 83611 にも: マニュアル (20 ページ)

8.
BASIC BISCUIT JOINTER OPERATIONS
IMPORTANT: Make sure that the mains voltage
matches the voltage stated on the machines rating
plate.
NOTE: Remove the plug from the socket before
carrying out adjustment, servicing or maintenance.
8.1 ON/OFF LOCKING SWITCH – FIG. 1
To switch the biscuit jointer "ON" push the switch
button
towards the front of the machine.
Pushing it all the way forward will cause the button to
lock in place, for extended use.
To release the switch, press the back half of the button
in towards the machine body.
The switch will disengage and spring back to the
"OFF" position.
NOTE: Before plugging the Biscuit Jointer in, ensure
the switch is NOT locked in the "ON" position.
8.2 BLADE DEPTH SELECTION – FIG. 2
The biscuit jointer has three depth settings which are
selectable using knob
The three standard settings correspond to the three
standard sizes of biscuits available:
0 = No.0 Biscuits.
10 = No.10 Biscuits.
20 = No.20 Biscuits.
NOTE: This biscuit jointer has a fourth setting (M).
This depth is the maximum depth capacity of the
machine and is only possible with a new blade fitted
and backing out the fine adjustment screw. This
setting will not be necessary for most biscuit jointing
operations and it is recommended that the operator
use only the 0, 10, 20 settings.
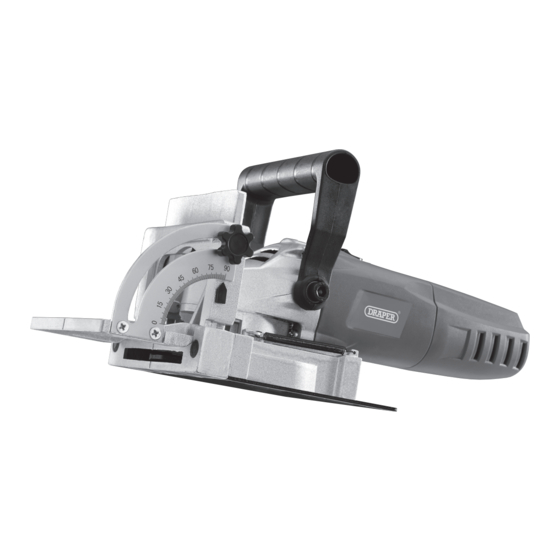
8.3 HEIGHT/ANGLE ADJUSTMENT – FIG. 3
The position and angle of the biscuit can be set up
using the guide.
Loosen both levers
or down to adjust the height. Lock with both levers
.
The angle is also adjustable by loosening lever
Tilt the front rest
the angle between 45-135º. When set, lock lever
and indicated by arrow
and slide front rest
. Use the guide scale to indicate
FIG.1
.
FIG.3
up
.
.
FIG.2
11
