- ページ 12
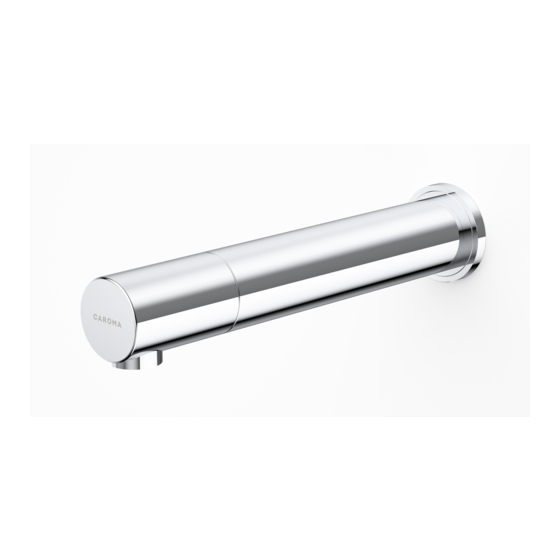
ディスペンサー Caroma G SeriesのPDF インストールとメンテナンスの説明書をオンラインで閲覧またはダウンロードできます。Caroma G Series 16 ページ。 Electronic soap dispenser
Caroma G Series にも: インストールとメンテナンスの説明書 (16 ページ), インストレーション&メンテナンス・マニュアル (16 ページ), インストレーション&メンテナンス・マニュアル (17 ページ)

SETTINGS ADJUSTEMENT
wITh A REMOTE cONTROl
If desired, use the remote control to adjust the soap dispenser settings.
Hold the remote control straight in front of the sensor in a distance of about 4-6"
(10-15cm).
attention: Holding the soap dispenser remote control out of the recommended
range (too close or too far)may interfere with the remote's activation.
choose the function you want to adjust by pressing on the function button as
following:
soaP QUantItY
1
the 1-4 drop keys allow the user to choose the
desired soap quantity delivered.
0.7 to 0.9
0.2 to 0.4
1
2
Indication: continues blink of the red light in the
sensor eye.
* the exact soap dosage depends on the soap
viscosity and temperature.
adJ
2
this function resets the soap quantity delivered to
the factory setting. Press the adJ button.
indication: 2 blinks of the red light in the sensor eye.
temPoRaRY oFF FUnctIon
3
this function is ideal to perform any kind of activity in front of the sensor without
operating the system (for example, cleaning). the soap dispenser will remain shut
for 1 minute when this button is pressed once. to cancel this function and to return
to normal operation press the on/off button again or wait 1 minute.
indication: oFF – 2 fast blinks, on – 4 fast blinks
ReFIll tHe soaP tanK
4
once the soap tank has been refilled, press the FIll button. the pump will work for
one minute in order for the soap to start coming out of the soap dispenser spout.
to stop this activity press the FIll button again.
1.2 to 1.6
2.1 to 2.3
3
4
3
1
2
4
12
