- ページ 2
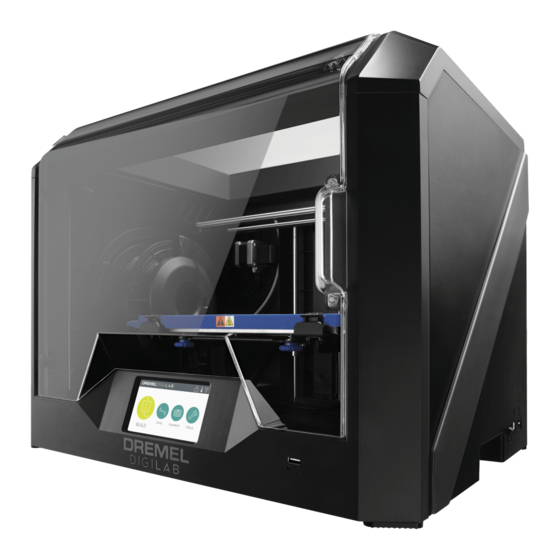
3Dプリンター Dremel DigiLab 3D45のPDF サービスマニュアルをオンラインで閲覧またはダウンロードできます。Dremel DigiLab 3D45 4 ページ。 Print removal
Dremel DigiLab 3D45 にも: クイック・スタート・マニュアル (2 ページ), サービス手順 (4 ページ), 取扱説明書 (2 ページ), マニュアル (4 ページ), 校正マニュアル (2 ページ), クイック・スタート・マニュアル (2 ページ)

Step 2: Remove Top Cover on the Extruder
a. Cut the filament just before the intake on the top of the
extruder.
b. Remove screw located on the right side hole using the
T10 Torx screwdriver. The first picture below shows the
location of the screw, the second picture a bottom view
of the area where the screw is located, circled in red,
is the screw that needs to be removed.
c. Unscrew the two screws on the top of the filament
guide bracket using the 2.5mm Hex wrench.
d. Remove the top cover.
SERVICE
e. Carefully unplug filament run out switch from the
extruder circuit board, ensuring to pull from the plastic
plug and not the wires; pulling the wires can damage
the connection to the extruder. Please see picture
below.
Step 3: Removing the Extruder Motor
a. Disconnect the white extruder terminal block from the
extruder connector as shown in the picture below.
Ensure to grab the block and avoid pinching the wires.
b. Unscrew the two motor screws below using the 2.5 mm
Allen key, as shown in the picture below. Please
ensure that the screws once fully unscrewed, should
still be left inserted in the extruder chassis hole.
2
