- ページ 28
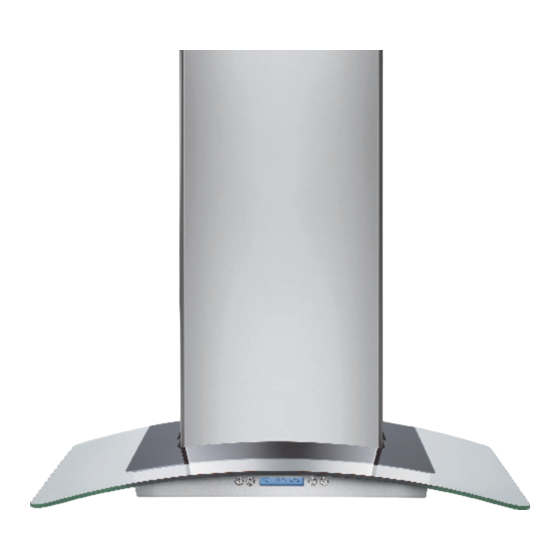
換気フード Electrolux 42のPDF 取扱説明書と取付説明書をオンラインで閲覧またはダウンロードできます。Electrolux 42 45 ページ。 30” and 36” free-standing range hood
Electrolux 42 にも: 設置・使用・お手入れマニュアル (22 ページ)

1 REMOVE PACKAGING
CAUTION:
Top-Heavy—be careful when moving.
When using an appliance dolly, handle
from Freezer side only.
• Carefully cut banding at the top and
bottom; remove outer carton.
• Slide out rear corner posts (2).
• Slide carton off top of cabinet.
NOTE: DO NOT LAY CABINET DOWN
IN ORDER TO REMOVE SKID!
• The unit is secured to the skid with
six 7/16" bolts and six 1/2" nuts.
• Remove all six 7/16" bolts that secure
metal brackets to the refrigerator.
• Remove the three 1/2" nuts and washers
from the Freezer side.
• Remove nut from rear wood block
on Freezer side.
• Tilt unit up on Freezer side toward Fresh
Food side.
• Push bolts down, remove metal bracket
from Freezer side. Remove wood block
from Freezer side.
• Slide the appliance dolly underneath the
Freezer side.
• Using corner posts (2 on front corners)
to prevent damage, secure unit to
appliance dolly.
NOTE: If corner posts are too long, cut the
posts to a shorter length.
Installation Instructions
Refrigerator is
Toekick Taped to
Top of Unit
Metal
Bracket
1/2" Nuts
• Lift the unit off the skid with the appliance
dolly.
• Remove toekick taped to the top of the
unit.
• Set toekick aside for final installation.
CAUTION:
TO ROLL OR DRAG UNTIL UNIT IS OFF SKID.
CAUTION:
WATER LINE IS CLEAR OF APPLIANCE
DOLLY TO AVOID DAMAGE.
28
Bolts
DO NOT ATTEMPT
MAKE SURE THE
