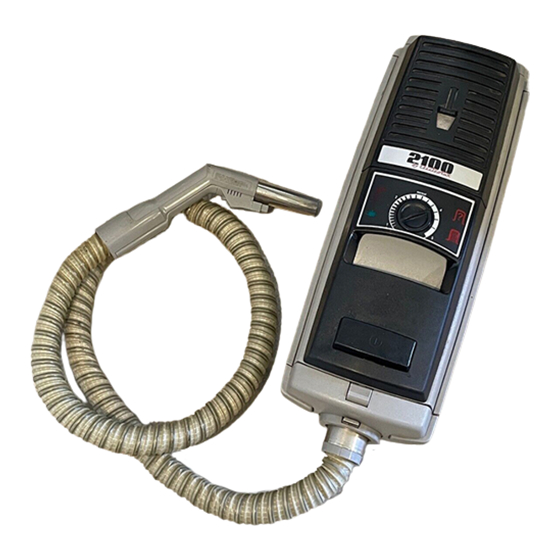
- 1. Important Safety Instructions
- 2. Features
- 3. Vacuum Cleaner
- 4. Wand and Hose Assembly
- 5. Overheating Protection
- 6. Information Panel
- 7. Use of Standard Attachments
- 8. Operation
- 9. Using the Power Nozzle
- 10. Maintenance
- 11. To Replace Air Filters
- 12. To Clear Clogged Hose
- 13. Limited 5 Year Warranty
Wand and Hose Assembly
To install the power hose, align arrow (A) on hose with those on the
suction end of cleaner. Insert hose until it clicks. To remove, press release
tab (B) and pull hose out. Slip small accessories on end of wand or directly
on hose handle and twist slightly to secure.
Crevice tool for
narrow spaces.
CAUTION: Turn cleaner OFF before connecting or disconnecting wands and power nozzle.
To assemble wand, insert the lower wand, large end first, into sheath until latches engage (Fig. A). NOTE: Before assem-
bling wand, check that the electric cord connector at end of sheath is properly positioned in its receptacle (Fig. B).
Fig. A
To connect hose handgrip to the sheath wand, align electrical connections on underside of sheath wand and hose
handgrip, and insert until latch clicks (Fig. C). To remove, press latch and pull wand out (Fig. D).
Fig. C
4
Shown for dusting.
(A) Alignment
(B) Release Tab
Reversed for fabrics.
Fig. B
Fig. D
Mark
