- ページ 2
タッチターミナル DT Research DT317BTのPDF 基本操作マニュアルをオンラインで閲覧またはダウンロードできます。DT Research DT317BT 4 ページ。 Mobile pos tablet
DT Research DT317BT にも: 基本操作マニュアル (12 ページ)

DT317BT
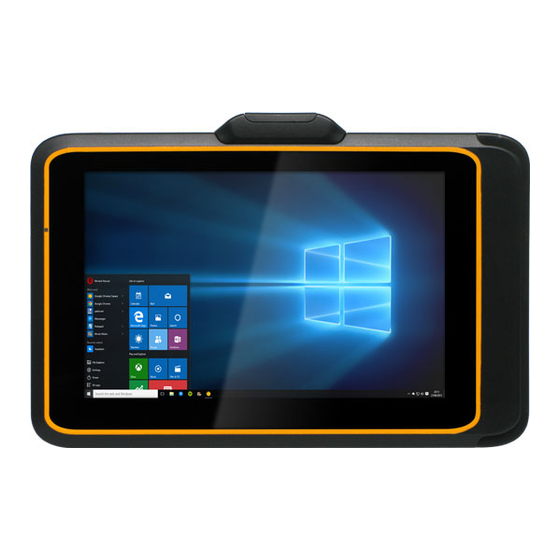
The DT317BT
2
Battery/Power LED
1
C
D
E
3
Input/ Output Ports
A
Barcode Scanner (optional)
Magnetic Stripe Reader (optional)
B
C
Headphone Jack
D
USB Port
DC Power Input
E
2
ENGLISH
A
B
A
Button Functions
BUTTON
ACTION
Power button
1
As SAS button without the scanner
module
2
As scanner trigger when equipped
with the scanner module
Battery switch
3
Power/Battery LED Status:
•
Blue indicates the battery is 25% to 100% charged
•
Blinking blue indicates the battery is charging
•
Orange indicates that the battery is between 11% to 25%
•
Blinking Orange indicates that the battery is below 10%
Precautions
•
Always exercise care when operating and handling the DT317BT.
•
Do NOT apply excessive pressure to the display screen.
•
Avoid prolonged exposure of the display panel to any strong heat source. Wherever
possible, the DT317BT should face away from direct light to reduce glare.
•
If the AC-DC power adapter is used to recharge or power the tablet, do NOT use any
AC-DC adapter other than the one provided or acquired from the manufacturer or its
partners.
•
In the unlikely event that smoke, abnormal noise, or strange odor is present,
immediately power off the DT317BT and disconnect all power sources. Report the
problem to your device provider immediately.
•
Never attempt to disassemble the
DT317BT, as this will void the warranty.
THE DT317BT
Basic Features
The DT317BT wireless tablet integrates a bright and multi-touch display, one USB port,
and embedded networking elements such as wireless LAN and Bluetooth. The DT317BT
is complemented by a suite of accessories, including battery expansion, and charging
cradles, for a comprehensive user experience.
A DT317BT typically integrates an 802.11a/b/g/n wireless LAN (WLAN) adapter that may
connect to other wireless devices or access points. If your DT317BT does not come with
such a network adapter, please consult your device provider to establish the desired
network connectivity.
3
ENGLISH
