- ページ 17
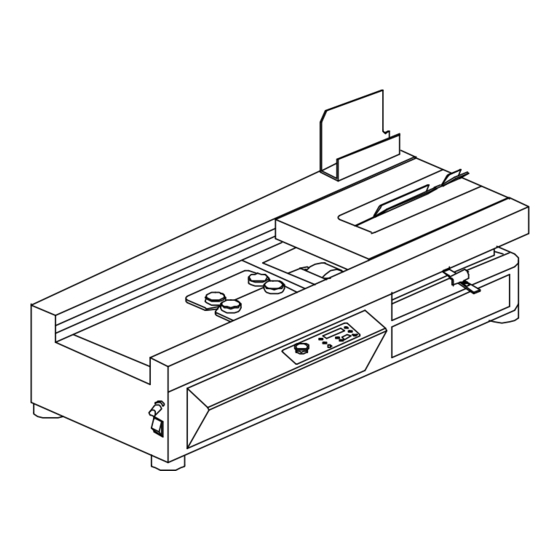
製本機 Duplo DB-200のPDF 操作マニュアルをオンラインで閲覧またはダウンロードできます。Duplo DB-200 18 ページ。 Perfect binder

Note that it's not necessary to drain the glue frequently if the machine is used constantly
under normal working conditions. However, in case the glue has been left unused for a long
period of time with the unit in the "ON" position, and the quality is found to be
unacceptable, use the glue replacement procedures or call your authorized dealer.
Maintenance
Cleaning Procedures
After you have finished using the binder for the day, follow the following steps:
1. Close the clamps while the LED display flashing "LOAD BOOK" or "LOAD PAD".
2. Press "START" and "CLEAR" keys simultaneously. The clamp station will automatically
move to the left of the machine and LED display "NP SVC".
3. Clean the residual glue that might be on the nipping plates and plate surfaces.
4. Press the "START" and "CLEAR" keys, the clamp station will return to its home position.
Open the clamps to the maximum position. Clean their surfaces and wax them.
5. Turn the DB-250 off.
APPENDIX
SETUP FOR TIMERS:
To enter the timer setup menu, you will need to press and hold down both the "OPEN" and
"CLOSE" buttons, then turn the power on. You should see "SET TR" in the LED DISPLAY.
Press the "FUNCTION" button to sequentially display TR1, TR2, TR3, TR4, TR5, TR6,
"SAVE", "CANCEL", and "RESET". Once you have selected the setting to change, you need to
press the "OPEN" to increase the time and the "CLOSE" to decrease the time within their
ranges. Press "FUNCTION" button until you see "SAVE" in the LED DISPLAY. Then press the
"START" button to change it. Or select "CANCEL" and press "START" button to exit. To
return all settings to default, please use "RESET" followed by "START" button to recover the
factory settings.
WARNING: We only recommend you to change TR1.
Below are the default times for each TRx and it's description:
14
