- ページ 3
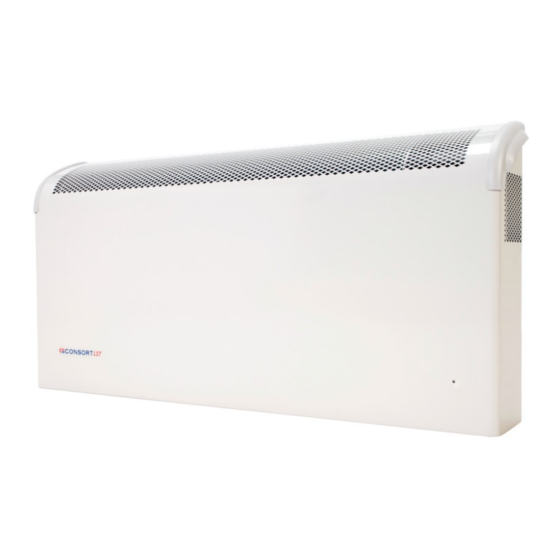
ヒーター Consort CSL2LSTのPDF インストレーション&オペレーションマニュアルをオンラインで閲覧またはダウンロードできます。Consort CSL2LST 4 ページ。 Sl wireless controlled low surface temperature panel convector heaters
Consort CSL2LST にも: インストレーション&コントロール・マニュアル (4 ページ)

Controls
When the appliance is connected to the mains
supply and the wall socket is switched 'ON' the
mains neon indicator will light locate at the
front, showing that the power is available to
Light colour
STAND-BY No heat output
Reduced heat output
Full power heat output
Operation
This heater can only be used in conjunction with
any Consort wireless controllers. Each controller
can control any number of heaters in the same
room.
CRXSL wireless controller
Please refer to the CRXSL installation and control
guide for full operational details.
SLPB
Please refer to the SL user and operating instructions for full operational details.
62001231 Iss 03
Heater status
SLVT
SL wireless controllers
Intelligent Fan Control
The intelligent fan control incorporates one of the
latest low energy consumption EC motors. This al-
lows the heater to operate quietly, whilst still
providing the best possible levels of comfort.
The intelligent fan control is only activated when
the heat is switched on. If the heater is running in
fan/boost mode only (heat switched off), then
the fan will operate at a fixed speed.
When activated, the intelligent fan control de-
tects the temperature of the room. Depending on
which heat mode is activated, it will calculate the
best possible airflow temperature and will adjust
the fan speed accordingly.
NOTE: When turning the heater on, or changing
heat mode or fan speed mode, the fan will
respond accordingly after a small time delay.
Wall mounting
Located on the rear of the heater are two key-
hole slots used for wall mounting. Attach screws to
the wall following the recommended clearances
in figure 1.
Remove the two wall brackets that are screwed
to the bottom of the heater. Rotate them 180 de-
grees as shown in figure 1.
Install the heater on the two screws, ensuring it
drops into the two locating slots and is tight
against the wall.
With the heater in position, mark the holes for
each of the bottom brackets. Screw the bottom
brackets to the wall.
SLVTB
3
SLTI
