- ページ 5
おもちゃ Apogee Atomizer 05054のPDF クイック・スタート・マニュアルをオンラインで閲覧またはダウンロードできます。Apogee Atomizer 05054 8 ページ。

17. Find the white cotton shroud line and cut the string
into three equal lengths as shown. Tie the shroud
lines through the ring holes as shown. Put a little bit of
glue on the knots to secure them in place. Allow the
glue to dry.
18. Holding the parachute at the center of its top, pull
the lines together to even up the ends. Thread the
three looped lines through the plastic loop at the base
of the nose cone (1). Take the top of the parachute
and thread it through all three string loops (2). Finally,
pull on the tip of the canopy to tighten the knot (3).
This securely attaches the parachute to the rocket.
19. When all the glue has completely dried, you can
paint the components of the Atomizer rocket. Roll a
piece of paper and insert it into the motor mount tube
so you can hold the model while painting it. For best
results, paint the parts with primer before using the fi-
nal color paint. Follow the directions on the paint can,
and always paint outdoors with the wind against your
back. Let the paint harden at least 24 hours before
proceeding.
20. Test the fit of the large ring over the fins. If nec-
essary, sand down the edge of the fins to achieve
a snug fit. Once the ring fits nicely, glue it in place
using the CyA Adhesive (super glue - medium or thick
viscosity).
21. Allow the paint to harden at least 1 day before
applying the vinyl decals. We recommend removing
each one from the paper backing and then dipping
them in soapy water to lubricate them so they will
slide around and can be repositioned easily. Keep
them wet by occasionally dripping some soapy water
on the model if they start to grab the rocket too quick-
ly. When the decal is in the right location, press down
firmly, and squeegee out any water underneath. When
the decal dries, it will be permanently fixed. The soapy
water will not affect the adhesion of the glue on the
back of the vinyl decal.
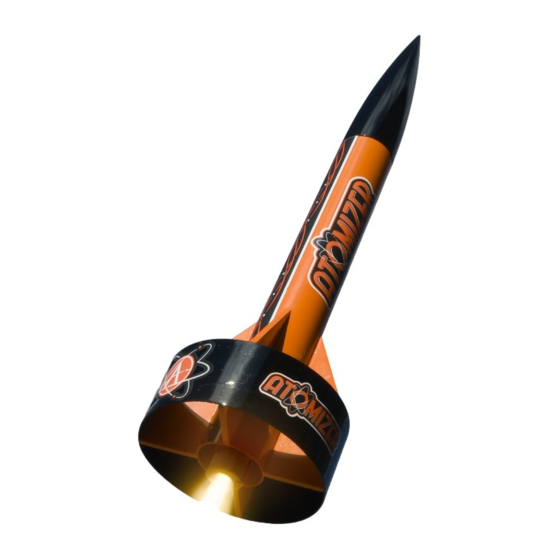
Congratulations! Your Atomizer rocket is now com-
plete!
Step 17
2
Step 18
Step 19
Step 20
Step 21
1
3
Page 5
