- ページ 8
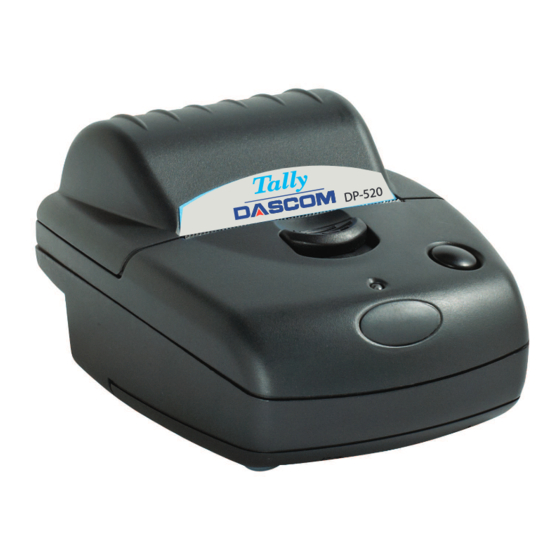
プリンター Dascom DP-520のPDF 取扱説明書をオンラインで閲覧またはダウンロードできます。Dascom DP-520 19 ページ。 Wired printer
Dascom DP-520 にも: ユーザーマニュアル (12 ページ), クイック・セットアップ手順 (2 ページ), クイック・セットアップ手順 (2 ページ)

OVERVIEW OF BATTERY OPERATION
The printer is normally supplied with a standard 1.8Ah NiMH battery pack. The primary power for the printer
comes from the battery pack.
The printer can operate with or without a charger connected. If required, the charger can be operated continuously
to keep the battery fully charged, although a high printing duty cycle may reduce the charge in the battery.
Operation from the charger alone is not possible: a battery pack must always be installed.
Note: For safety the battery pack is shipped in the battery compartment, but discharged and disconnected.
Before use, the battery must be connected (see below) and then fully charged.
CONNECTING THE BATTERY PACK
The procedure for connecting the battery pack is as follows:
1. Remove the screw from the battery compartment door,
2. Push down, and slide back the battery compartment door,
3. Insert the battery pack connector taking care to insert it correctly,
4. Make sure the wires are correctly routed and not trapped.
CHARGING THE BATTERY
Plug the battery charger into a suitable power source and insert the plug into the power connector at the rear of the
printer. The Status Indicator will flash orange to show that the printer is charging.
There is also the option of charging the printer via the connector in the D9 data connector on the optional serial
cable.
4
