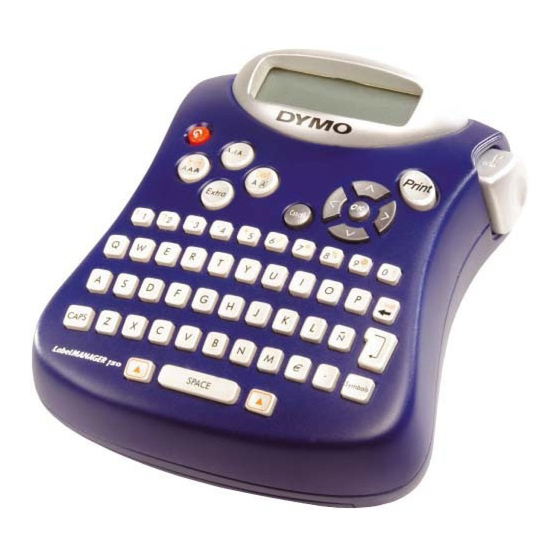
- ページ 8
ラベルメーカー Dymo LabelMANAGER 150のPDF ユーザーマニュアルをオンラインで閲覧またはダウンロードできます。Dymo LabelMANAGER 150 13 ページ。 Elektronisches beschriftungsgerät
Dymo LabelMANAGER 150 にも: ユーザーマニュアル (13 ページ), ユーザーマニュアル (10 ページ), パンフレット&スペック (2 ページ), (ドイツ語) 取扱説明書 (14 ページ)

3. Press the Down arrow to decrease the length.
4. Press OK to set the fixed length.
5. After you print the label, press Clear to turn off the
fixed label length setting; otherwise, all your
subsequent labels will print with this fixed length.
Aligning the Text
When you print a fixed length label you can choose to
align the text at the left, center, or right side of the
label. For two-line labels, both lines of text are aligned
left, center, and right relative to each other.
To align the text
1. Press Shift-Frame/Align.
2. Use the arrow keys to select the desired alignment
and press OK.
3. Press Clear to turn off the alignment setting.
Adjusting the Print Contrast
You can adjust the print contrast to fine tune the print
quality of your label.
To set the contrast
1. Press Extra.
2. Use the arrow keys to select Print Contrast and
press OK.
3. Use the arrow keys to select one of the five contrast
settings and press OK.
Customizing the Printer
You can choose the language you wish to use and the
units of measure.
Selecting the Language
You can select from a number of different language
options for the labelmaker.
8
To select your language
1. Press Extra.
2. Use the arrow keys to select Set Language and
press OK.
3. Use the Up and Down arrow keys to scroll to the
language you want and press OK.
Selecting Units of Measure
You can choose to show measurements in inches or
millimeters.
To set the units of measure
1. Press Extra.
2. Use the arrow keys to select Set Units and press
OK.
3. Use the Up and Down arrow keys to toggle
between inches and millimeters, and press OK.
Caring for Your Printer
Your labelmaker is designed to give you long and
trouble-free service, while requiring very little
maintenance.
Cleaning the Printer
Clean your labelmaker from time to time to keep it
working properly.
To clean the cutter blade
1. Remove the tape cassette.
2. Insert the tip of a ball-point pen or pencil between
the L-shaped piece and the guide pin.
