- ページ 8
プリンター Gainscha GA-S300のPDF ユーザーマニュアルをオンラインで閲覧またはダウンロードできます。Gainscha GA-S300 12 ページ。 80mm thermal receipt printer

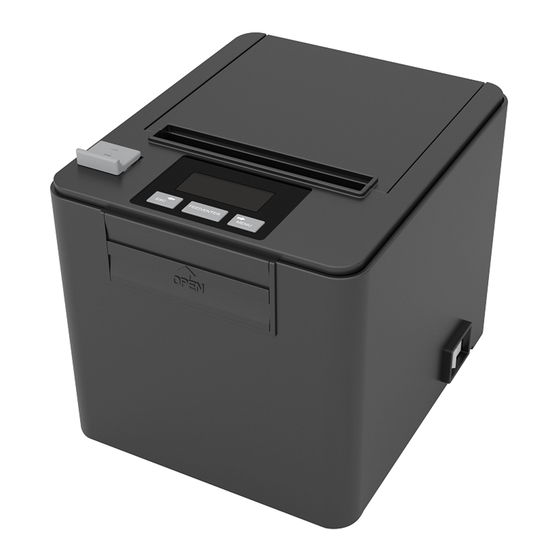
6.1 LCD and Buttons function description:
A. Screen display information
1. standby mode
a. Upper left region:Represents the warning information of the current printer in the form of icon, and
does not display when no warning appears.
b. Upper right region:Displays the real-time temperature of the print head.
c. The area below:Display the printer's current status, warning, prompt message in the form of text.
2. State of options
Provides common printer function Settings.
3. Screen saver status
Reduce the brightness and move the company LOGO in a random direction.
Note: in standby mode, the printer and keys will automatically enter the screen saver after 30 seconds without any
action. Under the option state, the printer and keys will automatically return to standby state after 20 seconds and
enter the screen saver state after 10 seconds.
B. Layout of the buttons
There are three buttons, left to right: left button, middle button and right button.
C. Function of the button
1. Each button contains short and long press operations, which correspond to different functions in
different standby display states.
2. Standby mode:
a.
left button
Short press: no operation.
Long press: display simple information of printer.
b.
the right buttons
Short press: no operation.
Long press: enter the option state. Options are: self-check page printing, print concentration
debugging, print speed debugging, language selection, cutter selection, USB interface type, serial
port baud rate debugging;
c.
Middle button
Short press: when the current printer has no printing task, the paper is about 5 mm;
Pause/continue printing while the printer is printing.
Long press: the current printer has no printing task, continuous paper out;
Cancel printing when the printer is printing and in a pause state.
Note: press the middle button when starting up to enter the corresponding special mode and operate according to
the on-screen prompts.
Special mode: self-check page printing, sensor calibration, hexadecimal debugging, restore the original Settings.
3. Under the option state:
a.
the left button
Short press: select the previous option/setting parameter (decrement).
Long press: continuously select the previous option/continuously set parameters (descending).
b.
the right buttons
7
